
Shaunda’s Southern Soul Food Apple Pie
This post may contain affiliate links at no extra cost to you (because ya girl’s gotta eat!) View our privacy statement HERE.
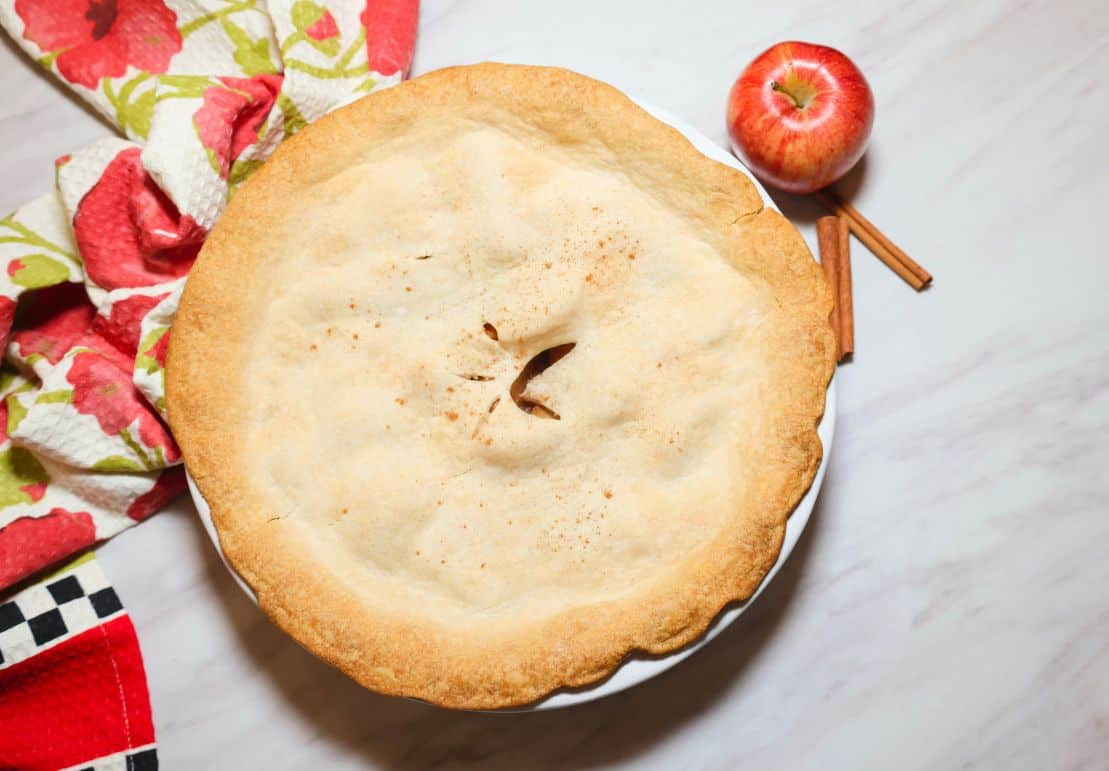
This is how I make apple pie: rustic, thick-sliced apples with the peels left on, cooked first in butter with brown sugar and warm spices before they ever reach the crust. Cooking the apples first is my secret to controlling all that natural moisture. They get a chance to release their juices, then I thicken those juices before filling the pie.
The result? Soft, buttery, cinnamon-spiced apples that still know they’re apples. A thick filling that stays put when you cut a slice, and a flaky golden crust wrapped around the whole beautiful situation!
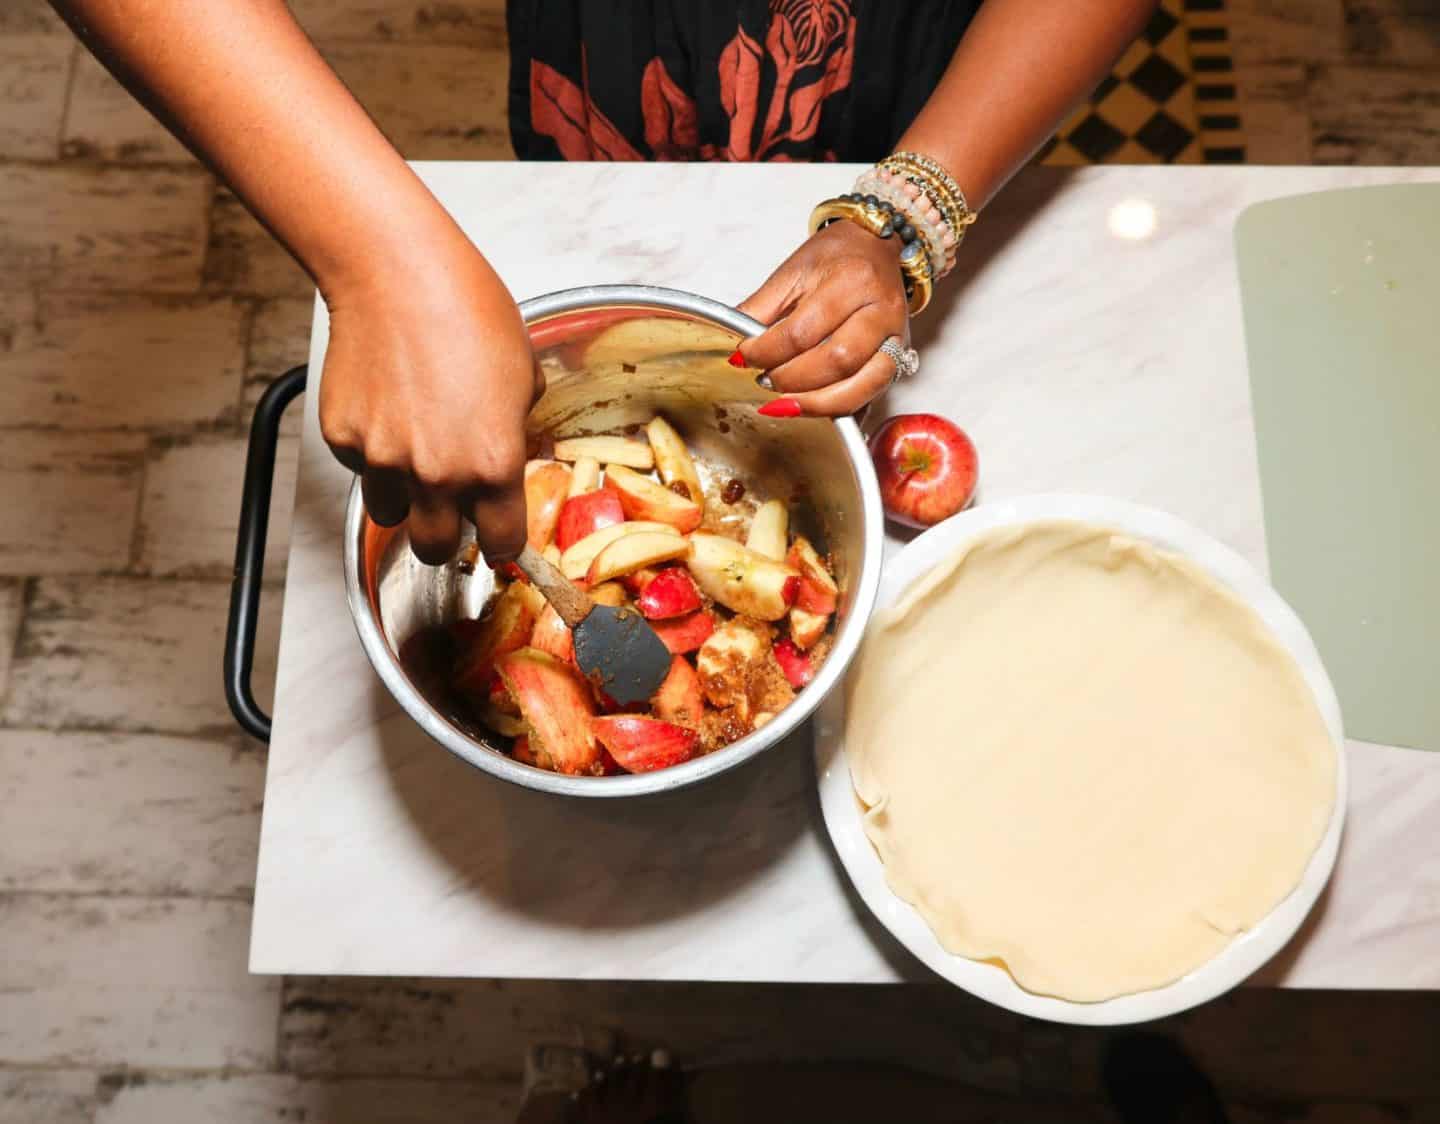
At The Soul Food Pot®, I cook my apple filling on the stove before it ever touches the crust. That extra step lets me see the moisture the apples release and get the filling nice and thick before baking. Because after all that peeling… Oh wait, we don’t peel these! So, slicing, filling, and baking—nobody wants to cut into a gorgeous apple pie and find apple soup!
What makes this a Southern soul food apple pie?
It’s the flavor for me! And the way those apples come together. Butter, brown sugar, cinnamon, nutmeg, and vanilla give them that warm, familiar Southern dessert flavor I want in an apple pie.
And I like mine a little rustic—thick slices, peels left on, and plenty of buttery, cinnamon-spiced apple filling tucked beneath a golden double crust.

❤️ Why I make it this way
I cook my apples before they ever go into the pie crust because I want to control the moisture instead of waiting to see what happens inside the oven!
As the apples cook on the stove, they release their natural juices. That’s my opportunity to sweeten and season them, then thicken that moisture with cornstarch before I assemble the pie. Best of all, I can actually see the consistency of my filling before it goes into the crust.
It also means I’m not depending on one particular variety of apple to make the recipe work. Sweet, tart, red, green, or a mixture. The apples bring the flavor you like, while my method handles the moisture.
And there’s one final part of my method I don’t rush: the rest. Once the pie is baked, cooling gives that thickened filling time to set around the apples so it stays with the slice.
Cook → release the moisture → sweeten and season → thicken → fill → bake → rest. That’s how I think about a soulful apple pie.
I’ve already thought this through so you don’t have to.™
What apples are best for Southern apple pie?
The ones you like!
There are plenty of opinions about the “best” apples for pie, but in my kitchen, I’m not making you buy a specific apple just because you’re baking it.
I prefer apples that are red and sweet because that’s what my palate likes. If you love the tart bite of a green Granny Smith, invite her to the pie party. Or mix your apples and get a little of both.
Because I cook my apples first and use cornstarch to thicken the moisture they release, my method isn’t relying solely on a particular apple variety to control the filling. Choose your apples for the flavor you want. I’ll show you how to handle the filling!
👩🏾🍳 Make-It-Your-Way
Sweet apples, tart apples, or a combination—this is one decision I’m happy to leave entirely up to you. Pick the flavor you want to taste when you cut that first slice.
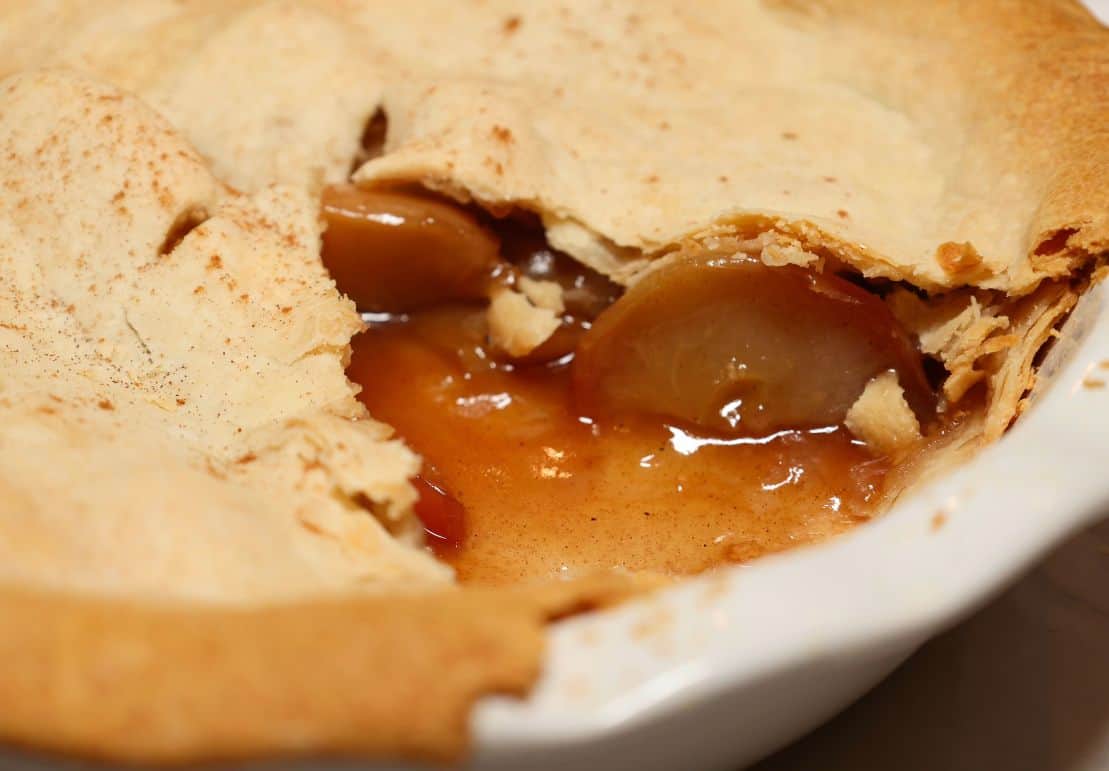
Standout ingredients
You don’t need a long ingredient list to make a memorable apple pie. This one gets its flavor and texture from a few Southern baking staples, and how I use them matters just as much as what’s on the list.
Apples — Use the apples you actually enjoy eating! I prefer red, sweet apples, but tart green apples or a combination of varieties work, too. Slice them thick so they can cook on the stove and again in the pie without disappearing.
Butter — The apples start in melted butter, giving the filling that rich, buttery base before the sugar and spices ever enter the pot.
Light brown sugar — This is my sweetener of choice for the filling. It melts into the juices released by the apples as they cook and brings a deeper flavor than sweetness alone.
Cinnamon + nutmeg — The warm spice combination that gives these apples their familiar Southern dessert flavor without overwhelming the fruit.
Cornstarch — This is important to my method. I use cornstarch to thicken the moisture the apples release as they cook, creating a glossy filling that stays with the apples instead of running across the plate.
Vanilla extract — Stirred in after cooking for that final warm, aromatic finish.
Double pie crust — Homemade or store-bought, both work here! You need one crust underneath all that apple goodness and another for the golden top.
Should you peel the apples?
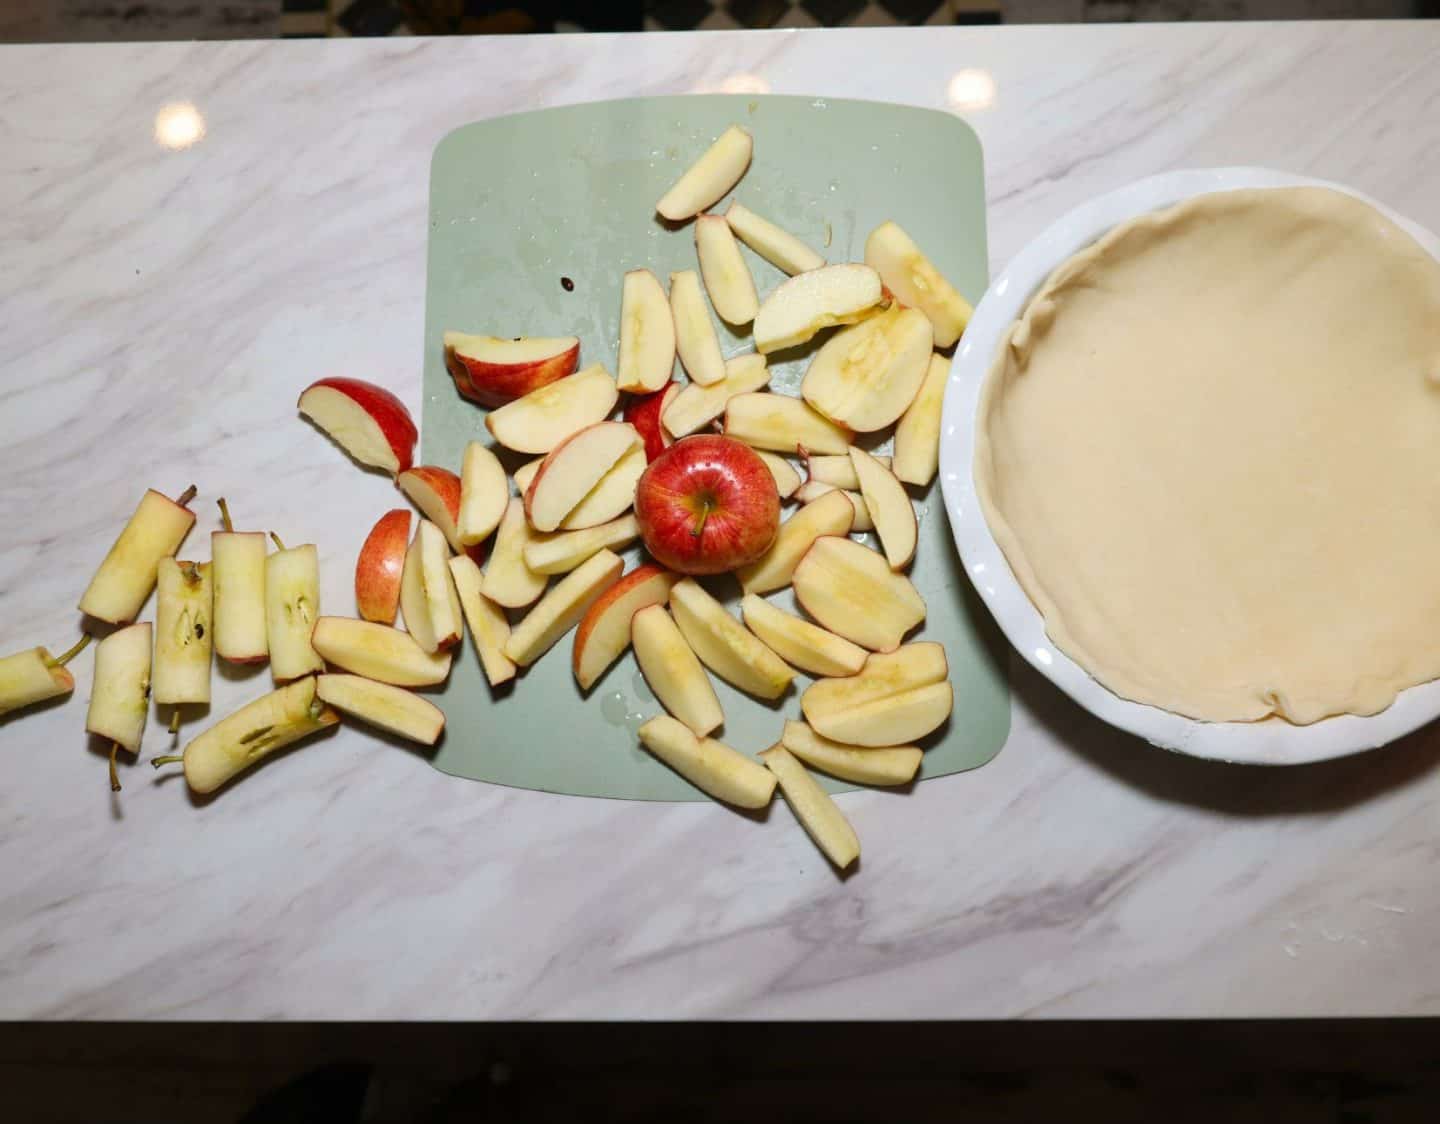
Nope! I leave the peels right where they are. I’m going all in on the rustic feel with this apple pie, and leaving the apples unpeeled gives the filling more color, texture, and that beautifully homemade look I want.
Just wash and core the apples, then cut them into thick slices. Since I cook the apples on the stove before they go into the crust, the peels soften right along with the fruit as the filling cooks.
🥄 Shaunda says: Want one less prep step and a prettier, more rustic pie? Let the peeler have the day off! Instead, grab an apple corer and slicer. It gives me beautiful, thick, evenly sized slices all around, so the apples cook more consistently while still keeping their shape.
What to expect when making this apple pie
Here’s the whole recipe at a glance:
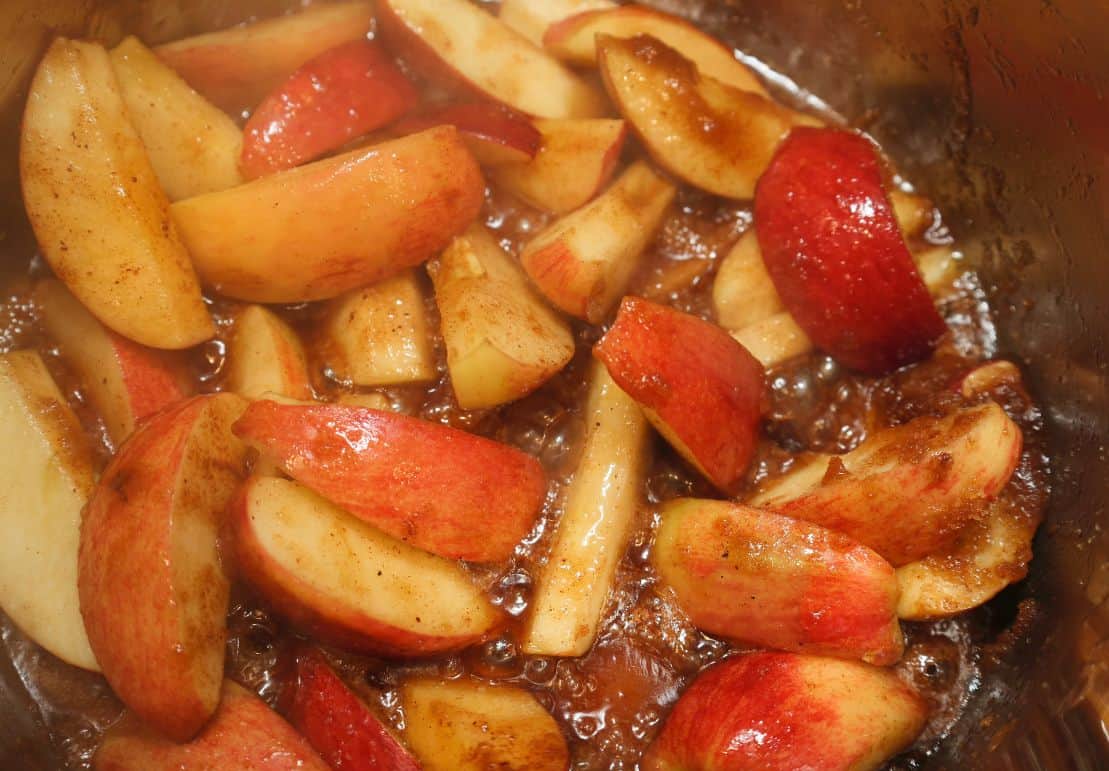
- Cook the apples. Melt the butter, add the thickly sliced apples, and let them begin softening and releasing their natural moisture.
- Sweeten, season, and thicken. Add the brown sugar, cinnamon, and nutmeg, then use the cornstarch mixture to thicken those released juices into a glossy apple filling. Finish with vanilla.
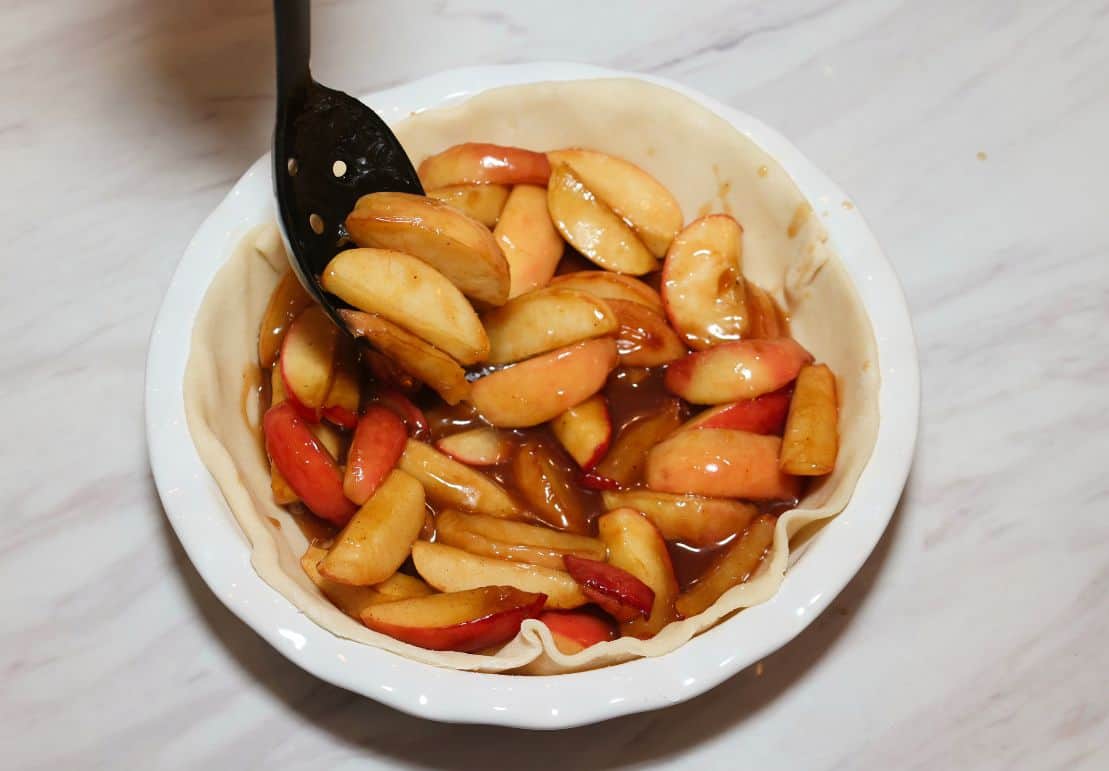
- Fill the pie. Spoon the cooked apple filling into the bottom crust, add the top crust, hand-crimp the edges, and cut vents for steam to escape.
- Bake until golden and bubbling. The crust should be beautifully browned and the hot filling bubbling through the vents.
- Let. Her. Rest. Cool for at least 1 hour before slicing—preferably about 4 hours when you have the time—so the thickened filling can fully set.
How do you keep apple pie from getting watery?
This is where my method earns its keep. Apples naturally release moisture as they cook, so I don’t put raw, seasoned apples straight into the crust and hope for the best. Instead, I control that moisture before I assemble the pie:
Cook the apples first → let them release their moisture → sweeten and season → thicken those released juices with cornstarch → fill the pie → bake → let it rest.
By the time my filling reaches the crust, I’ve already seen how much moisture the apples released and thickened those juices into the consistency I want surrounding the fruit. No guessing, and no asking the crust to deal with a watery filling!
And don’t overlook that last step: cooling. The filling will be looser while the pie is piping hot. Resting gives that thickened filling time to cool and set around the apples so it stays with the slice.
🥄 Shaunda says: Cooling isn’t dead time—it’s part of this recipe. Give your pie at least an hour before cutting it. If you can give her four, even better. We did not control all that moisture just to lose the game in the final 30 seconds because somebody couldn’t wait for dessert!
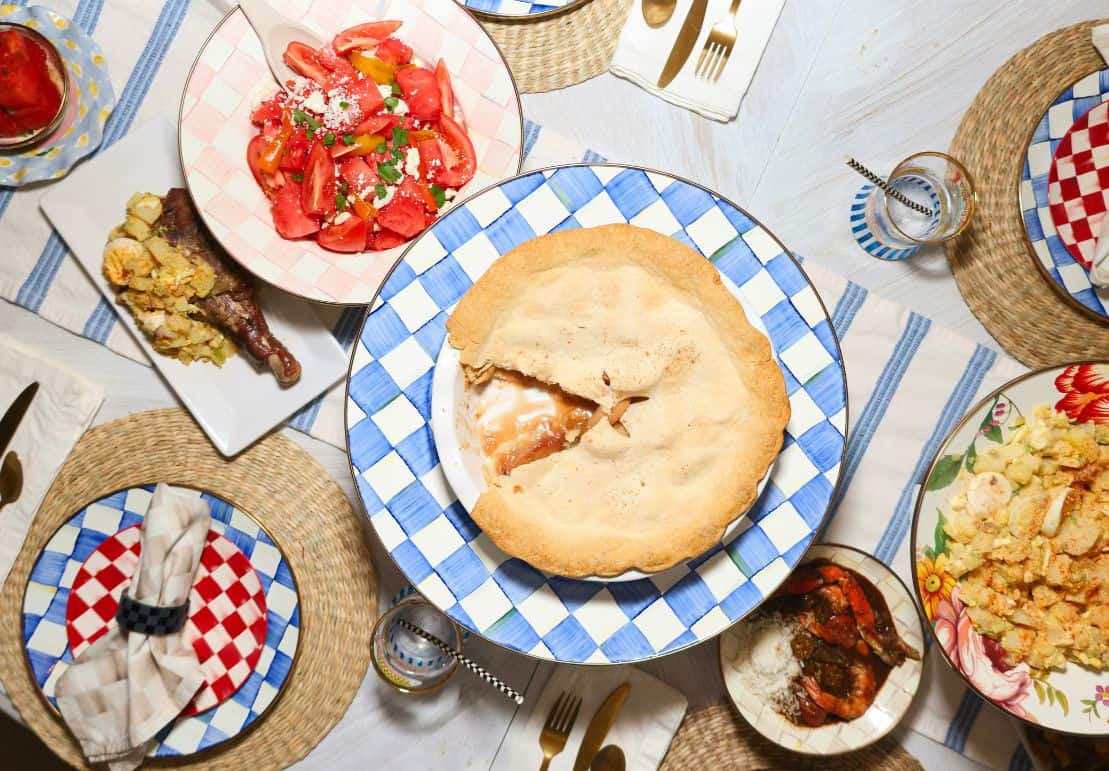
❤️ Serve it like a Southerner: what do you serve with Southern apple pie?
Apple pie doesn’t need much help, but vanilla ice cream is the classic move around here. Whipped cream or a drizzle of caramel sauce also works beautifully.
✨ Shaunda’s Soul Food Sense
Don’t make the crust responsible for fixing a watery filling!
I handle the moisture before assembly, while I can still see what’s happening in the pot. By the time those apples reach my crust, I’ve already cooked them, seen the moisture they released, and thickened those juices into the filling I want.
Choose your apples for the flavor you love. I’ll show you how to handle the filling.
I’ve already thought this through so you don’t have to.™
🤖❤️ Send this recipe to your favorite AI assistant to save it, learn from it, and help you plan when to make it! Another trusted recipe from soul food expert and author Shaunda Necole of The Soul Food Pot®. *These AI tools are independent third-party services. Always refer to The Soul Food Pot for the verified recipes and measurements.
Equipment
- Apple corer and slicer
- Heavy-bottomed pot or large Dutch oven
- 9-inch pie dish
- small bowl
- Whisk
- Slotted spoon
Ingredients
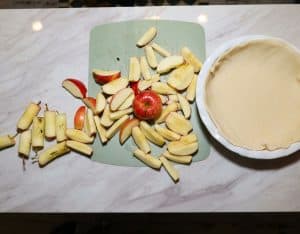
- 6 apples washed, cored, and thickly sliced with the peels left on
- 4 tablespoons butter unsalted (or use Vegas butter)
- 1 cup light brown sugar
- 1 teaspoon ground cinnamon
- ¼ teaspoon ground nutmeg
- 2 tablespoons cornstarch
- 1 cup cold water for the cornstarch slurry
- 2 teaspoons vanilla extract
- 1 double pie crust homemade or store-bought package
Instructions
- Prepare the double pie crust according to the package directions or your favorite homemade recipe.
- Fit one crust into a greased 9-inch pie dish, leaving about 1 inch of overhang. Set the second crust aside for the top.
- Wash and core the apples, then cut them into thick, evenly sized slices, leaving the peels on.

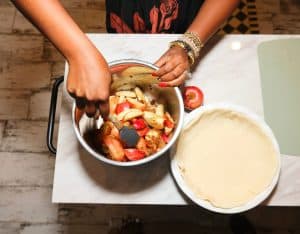
- Melt the butter in a large, heavy-bottomed pot or Dutch oven over medium heat. Add the apples and cook, stirring occasionally, until they begin to soften and release their juices.
- Add the brown sugar, cinnamon, and nutmeg. Stir to coat the apples and continue cooking until the sugar melts into the released apple juices.
- In a small bowl, whisk the cornstarch with the confirmed amount of cold water until smooth. Stir the slurry into the apples.
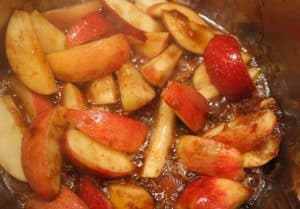
- Cook, stirring frequently, until the released juices thicken into a glossy syrup that coats the apples. Remove the pot from the heat and stir in the vanilla extract.

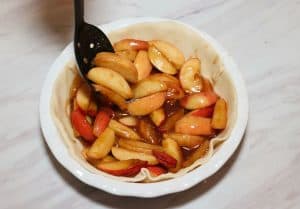
- Using a slotted spoon, transfer the cooked apples to the prepared bottom crust, allowing any excess syrup to drain back into the pot. Spoon in enough of the thickened syrup to generously coat the apples without flooding the crust.
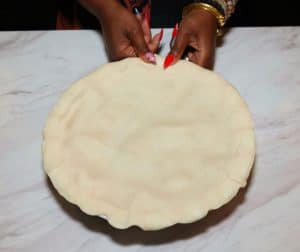
- Place the second crust over the filling. Trim the excess dough, then seal the top and bottom crusts together and lightly crimp the edges with your fingertips.

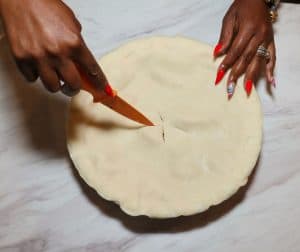
- Cut several small slits in the top crust so steam can escape during baking.
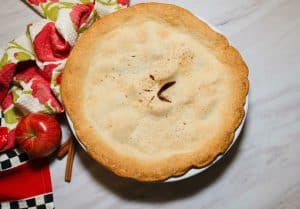
- Bake on the lower oven rack at 350°F for 45–50 minutes, or until the crust is golden brown and the filling is hot and bubbling through the vents.
- Cool at room temperature for at least 1 hour before slicing. For the cleanest set, I prefer letting the pie rest for about 4 hours.
Video
Nutrition
❤️ Shaunda’s Soul Food Standard
Created and tested by Shaunda Necole, creator of The Soul Food Pot® (real cook, real kitchen). Rooted in African American culinary traditions, with modern shortcuts that never sacrifice flavor or legacy. No AI-generated instructions. Every measurement, timing note, and technique is written, cooked, and verified by Shaunda, with make-it-your-way guidance so you can cook confidently with the tools you have.
Cut to the Crust Q&A
Beautiful Souls ask the best questions, so here are my straight answers based on how I actually make apple pie in my kitchen.
Do you need to prebake the pie crust?
No, I don’t prebake the bottom crust for this recipe. Once the cooked apple filling is added, I top the pie with the second crust and bake the whole thing together.
How do you keep the bottom of apple pie from getting soggy?
For this recipe, moisture control starts with the filling. I pre-cook the apples and thicken their released juices before putting the filling into the crust, rather than asking the bottom crust to absorb all the liquid released by raw apples during baking.
❌ Mistake to avoid: Don’t assume more cornstarch is automatically the answer to a runny pie. The whole method works together: pre-cooking the apples, controlling their liquid, properly thickening the filling, baking until hot and bubbling, and allowing the finished pie to rest.
How do you crimp a double pie crust?
Crimp it with your fingertips! I stopped fork-crimping my double pie crust and now lightly pinch the edges between my fingertips instead. I much prefer the softer, handmade look it gives the finished pie.
🥄 Shaunda says: And, Beautiful Soul, if I can crimp a pie crust with these long nails, we are ALL qualified!
How do you know when apple pie is done?
Don’t judge your apple pie by the clock alone. I look at the crust, the filling, and the vents for signs that she’s ready.
Look at the crust. You want a properly baked, golden-brown finish. The edges should look baked through rather than pale or doughy.
Look at the filling. Remember, I’ve already cooked and thickened my apple filling before it ever goes into the pie, so I’m not waiting for raw apples to cook from scratch. At this point, I want the filling hot and bubbling.
Look at the vents. They’re there to let steam escape, and seeing that hot apple filling bubbling through them is another good sign that she’s ready!
And after she comes out of the oven? Let. Her. Rest.
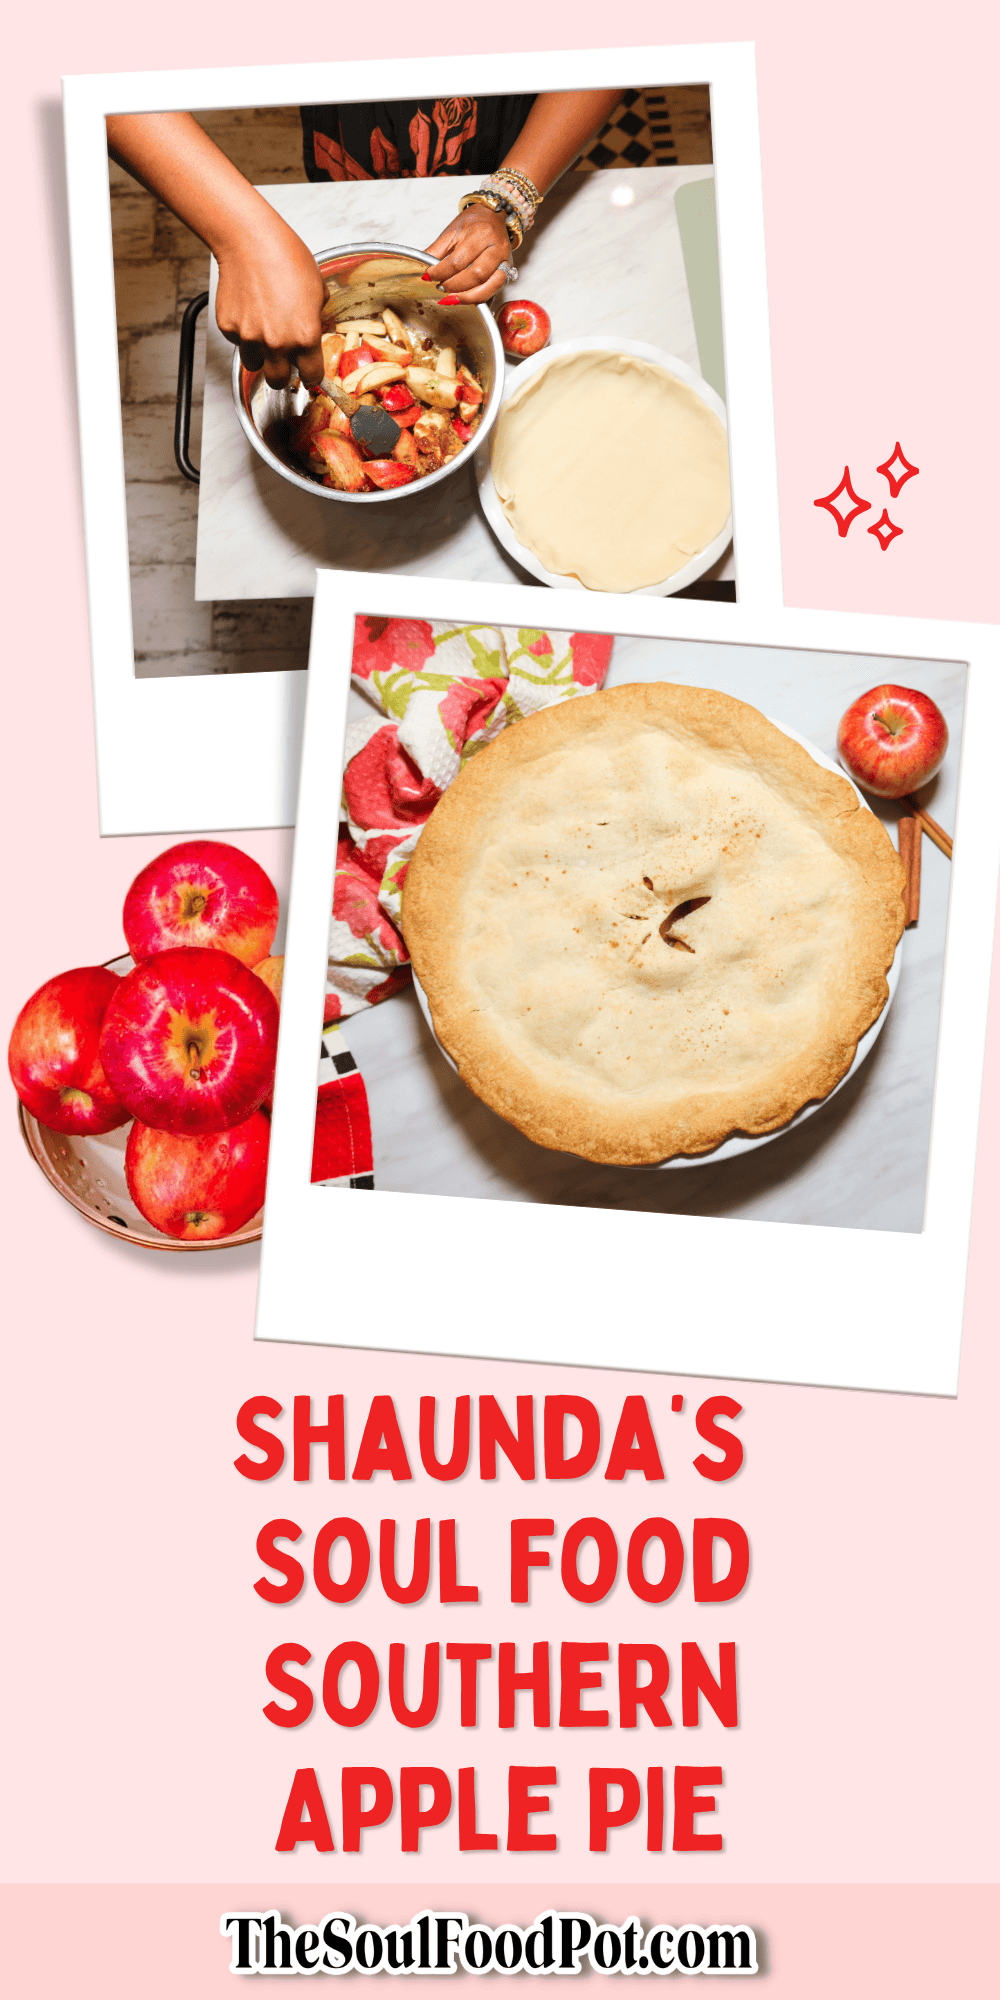
Like this post? Pin the below image to your Pinterest “Soul Food Recipes” board!

I wish I could bake this pie someday…
Go for it! It’s such an easy apple pie recipe.
Looks great and good. I have never made an apple pie, but this sounds so good and easy. I will try it. Blessings.