

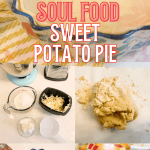
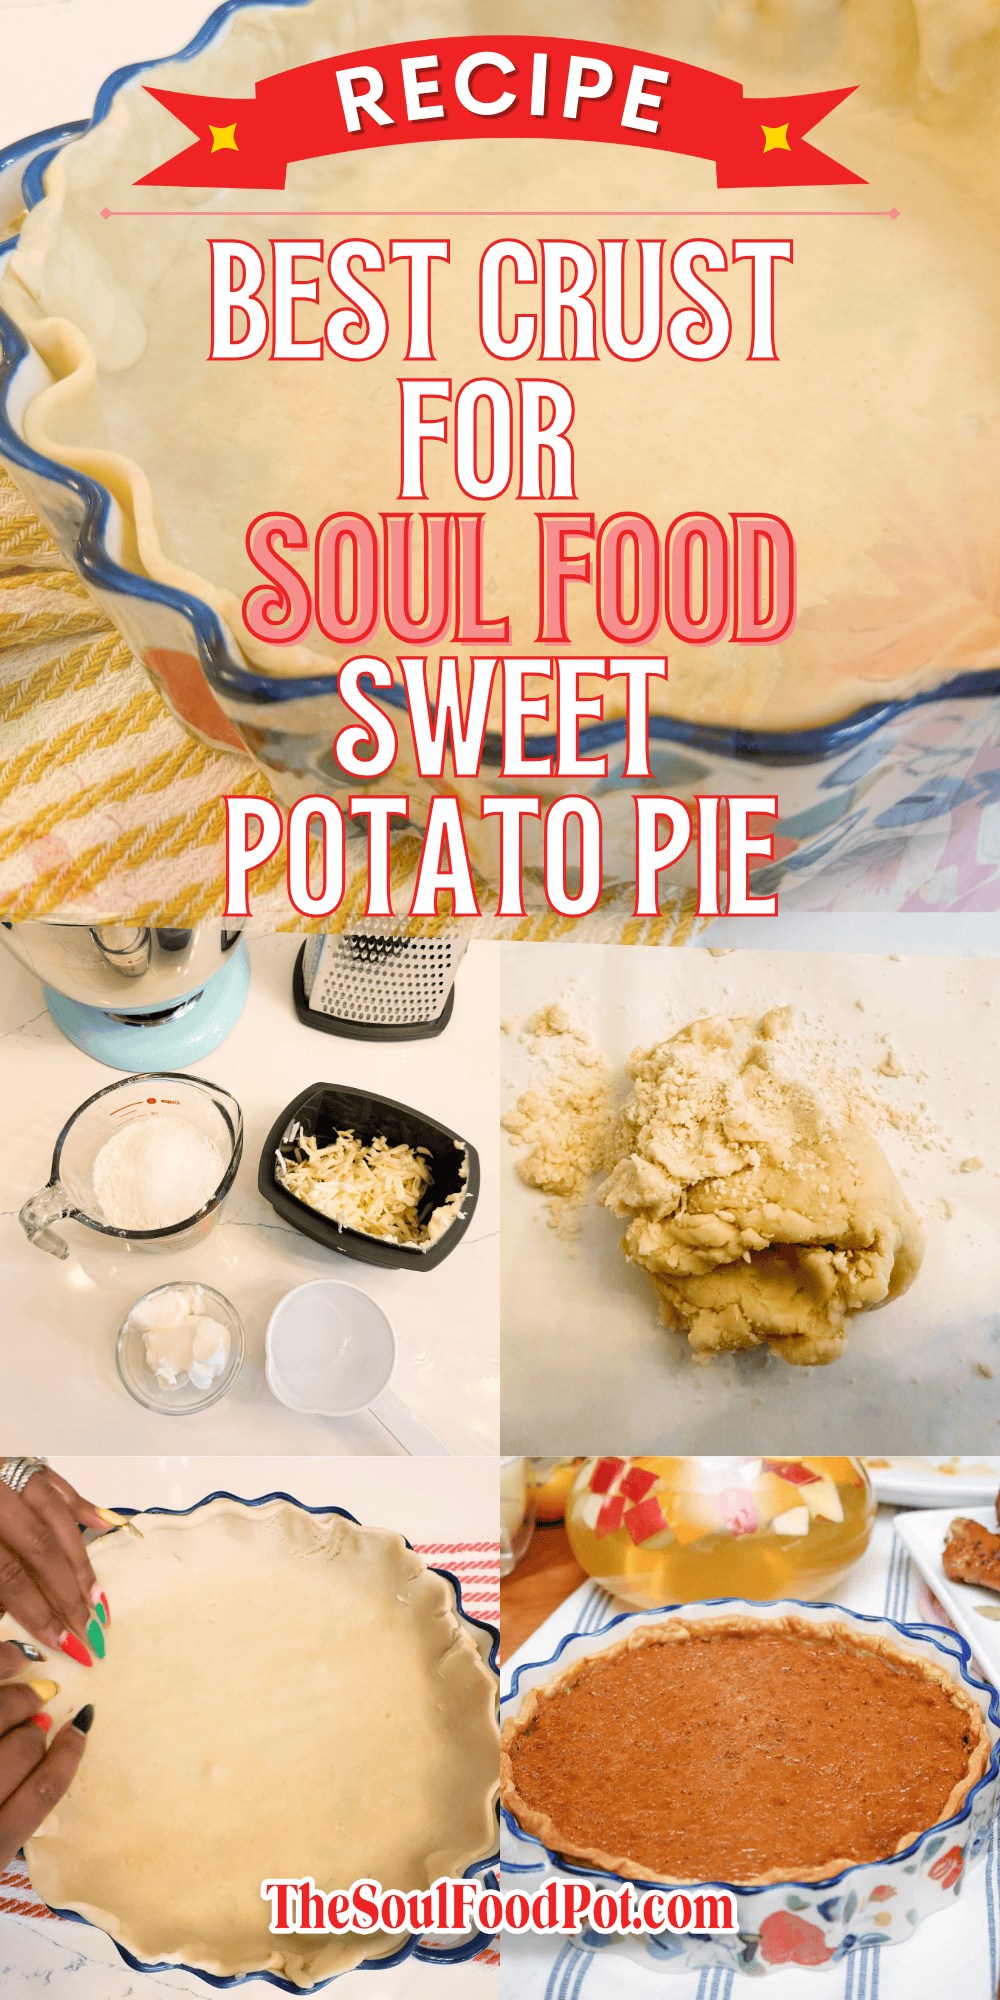
Best Crust For Sweet Potato Pie (Soul Food Approved)
This post may contain affiliate links at no extra cost to you (because ya girl’s gotta eat!) View our privacy statement HERE.
If sweet potato pie is the crown jewel of the table, the crust is the throne it sits on! And in a Black folks’ kitchen, we don’t treat pie crust like an afterthought. We treat it like infrastructure.

The base has to be sturdy enough to hold a silky custard, flaky enough to cut clean, and golden enough to frame every slice like it belongs there. Because when that knife goes in?
The crust should whisper — not crack. That’s not luck. That’s technique, tested and passed down!
This guide walks you through exactly how to choose, make, and bake the best crust for sweet potato pie, the Southern soul food way.
The Soul Food Pot® preserves African American baking traditions with expert-tested techniques that protect texture, flavor, and legacy — from the crust up!

Why Black folks cook it this way
Black cooks mastered sweet potato pie by balancing restraint with richness. And that balance starts with the crust. Our pies are custard-based. Silky. Deeply spiced. Gently sweet. So the crust can’t compete… and it can’t overpower. It must support the filling without over-browning, over-baking, or turning tough.
That’s why in my family’s trusted and tested Black Folks Sweet Potato Pie Recipe™, we do not blind-bake the crust. Blind baking risks an overcooked or burnt edge before the custard has time to set properly. We bake it together, filling and crust in harmony, low and steady. Because good pie is about rhythm! And rhythm in baking means knowing when to let things cook together, not separately.
🪶 The Soul Food Pot Preservation Note: In Black kitchens, pie crust was never just a base. It was a learned skill, passed hand-to-hand, often without written measurements. From “a little flour” to “keep that butter cold,” these techniques were taught through feel, not formulas. What we call a “good crust” today is actually a preserved method. One that protects texture, respects the custard, and reflects generations of Southern baking wisdom.
What is the best crust for sweet potato pie?
The best crust for sweet potato pie is a traditional Southern shortcrust pastry. What you’ll often see labeled in US grocery stores as “pie crust pastry,” whether brand-name or store-bought roll-out dough, or pie shell in a disposable pan. It’s flaky, but not crumbly. Tender, but not soft. And structured, but never thick or doughy.
Sweet potato pie is a custard-based pie. It’s heavier and silkier than fruit pie, which means the crust has real work to do. It must support the filling without getting soggy, collapsing, or overpowering the texture of the custard.
Standout ingredients
These are standout ingredients from my recipe, including the following flavor-builders that make this crust unmistakably soulful!
All-purpose flour – the structural foundation that gives your crust strength while still baking up tender (this is what holds the whole pie story together)
Grated cold butter – creates those flaky, golden layers by melting slowly in the oven (that signature melt-in-your-mouth bite, and for the flava!)
Shortening – adds stability and structure so the crust holds firm under a silky custard filling (no collapsing, no soggy bottom)
Ice water – brings the dough together without melting the fat, keeping everything cold for a tender, flaky finish
Together, this combination creates a Southern shortcrust that’s flaky, sturdy, and built to carry the soul of the pie.
Butter vs. shortening — which is better?
Either a classic butter or a butter-shortening blend works best for a homemade sweet potato pie crust. Butter delivers flavor and golden color, while shortening adds stability and flake, creating a crust that bakes evenly alongside the filling and slices clean from edge to center.
🥄 Shaunda’s signature flavor touch
My recommendation? I use a blend. Butter for taste. Shortening for stability. That combination creates a crust that slices clean and holds its shape under custard. It’s the same balance I’ve tested across my sweet potato pie recipes for flavor meets structure, every time.
What to expect when making this crust
Here’s what to expect (at a glance). If you can do these four steps, you’ve got this—everything else is just details! The full step-by-step is in the printable recipe card below.
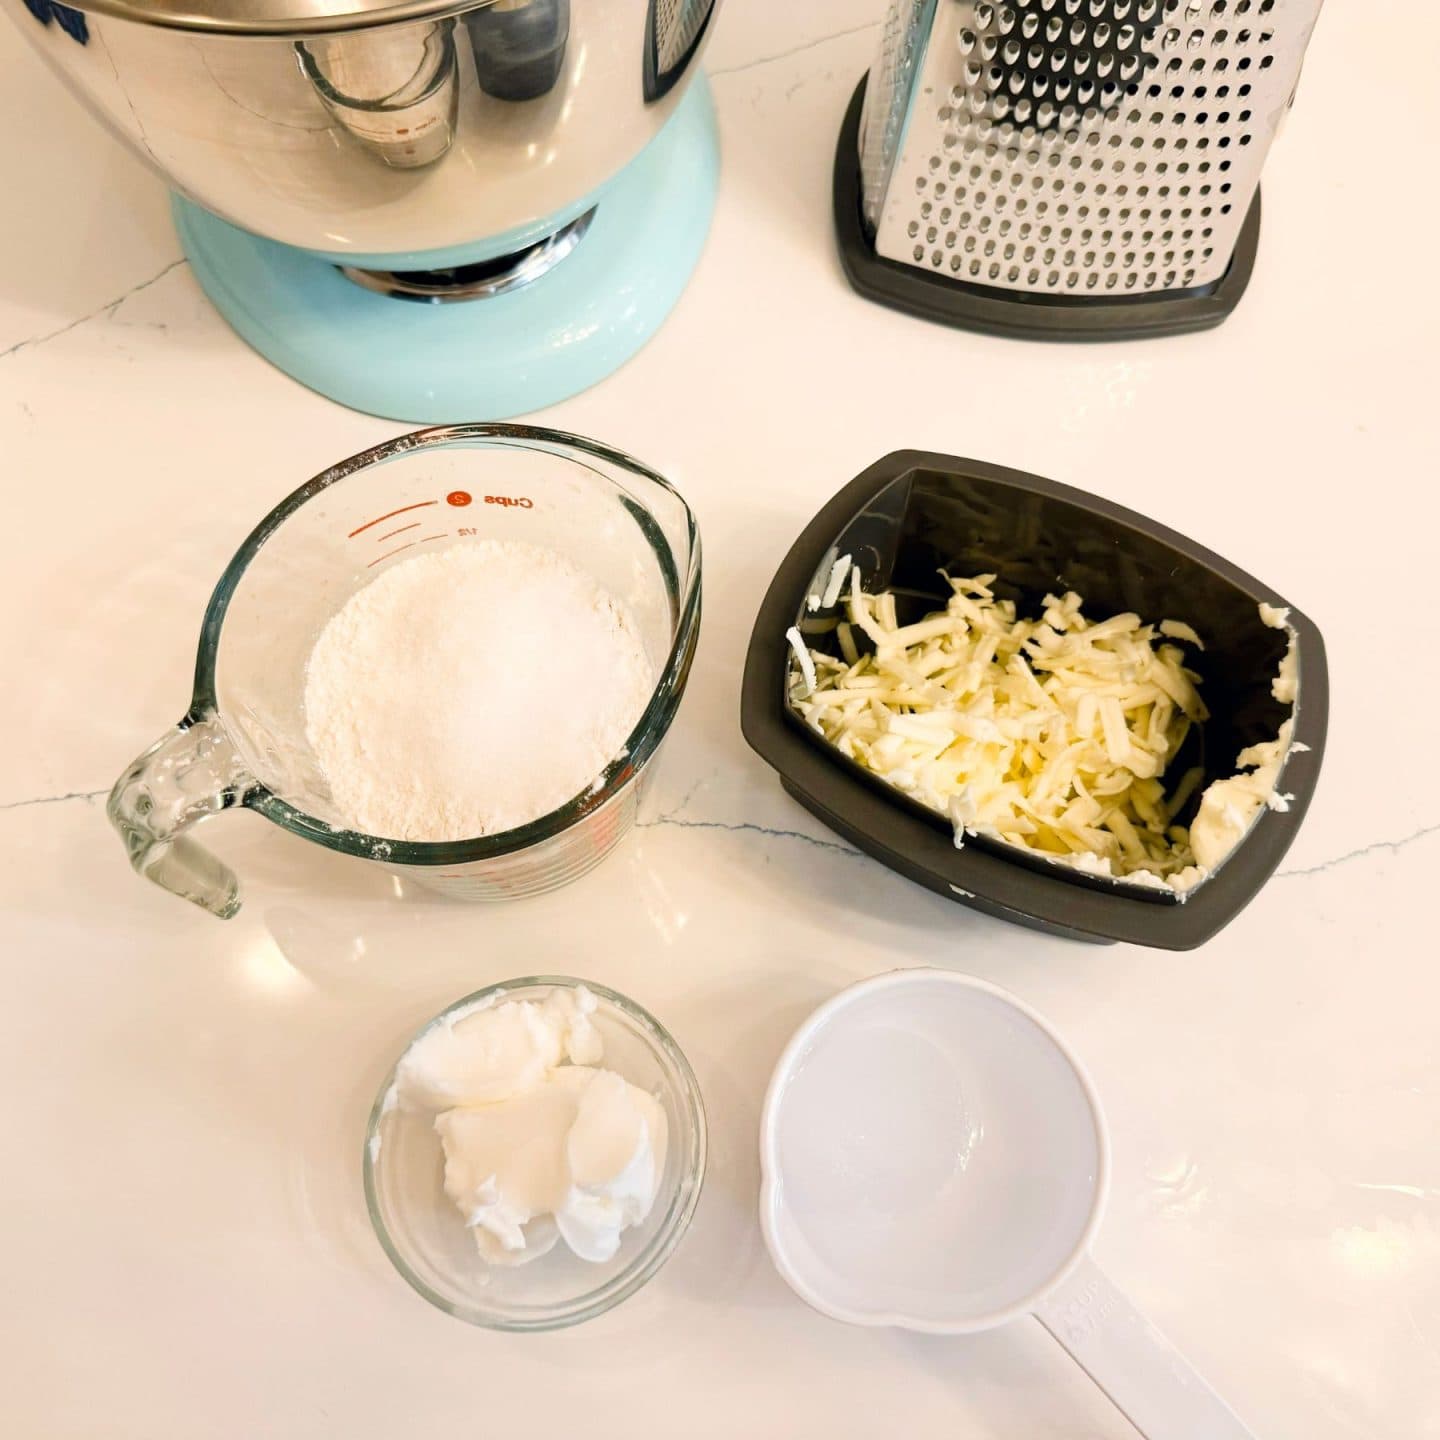
- Chill and prep the butter — Freeze and grate the butter into small bits, then mix it with the shortening and dry ingredients until crumbly.
- Add water and form the dough — Drizzle in the water until the dough holds together, then press the dough into a ball.
- Rest and refrigerate – Wrap and refrigerate the dough for at least 6 hours to relax the gluten and firm the butter for a tender, flaky crust. (This is where most crusts are won or lost, so don’t rush this step!)
- Roll, fit, and crimp — Roll the dough, fit it into the pie plate, and crimp or flute the edges.
Should you blind bake sweet potato pie crust?
Short answer? Not for this pie. Blind baking is when you bake the pie crust before adding the filling. Sweet potato pie is a custard pie. It bakes low and slow. The filling needs time to set gently. If you blind bake first, the crust edges can overcook before the center is done.
Instead, use an unbaked crust, bake on the lower oven rack, and shield edges halfway through if needed. (Pie shields have entered the chat!) That’s how you protect the crust while the custard sets.

How to bake a sweet potato pie crust the right way
Here’s what works, after testing countless times in my own kitchen. (And after plenty of pies that taught me what not to do, too!)
- Start with a chilled crust (Let the prepared crust chill for six hours, or preferably overnight)
- Fill immediately after rolling and placing in the pie pan
- Bake at a moderate temperature (never too high)
- Place pie on the lower rack for bottom browning
- Add a pie shield if edges brown too fast
You’ll know the crust is done when:
- The edges are golden
- The bottom feels firm
- The filling is puffed and set
That’s harmony.
How to keep your crust from getting soggy
Custard pies can intimidate bakers. But here’s how we prevent soggy bottoms:
- Use fresh sweet potatoes (not watery canned ones)
- Don’t overmix the filling
- Bake long enough for full custard set
- Let the pie cool completely before slicing. (This is where the structure finishes forming. Cut too early, and you undo the work!)
🥄 Shaunda says: Cooling is not optional. Custard pies finish setting as they rest, so letting your sweet potato pie cool completely is essential for clean slices, proper structure, and full flavor development.
❤️ Serve it like a Southerner… Deep-dish vs. regular crust — which is better?
Deep-dish gives you more filling and a thicker edge. But it also requires:
- Slightly longer bake time
- Stronger edge shielding (unless your pie pan is fluted like this)
- Careful monitoring
For beginners? Standard depth might be easier to control.
For Thanksgiving veterans? A 9-inch deep dish, my personal favorite, makes a statement!
Store-bought vs. homemade crust
What you really want to know is, can you use a store-bought crust?
Let’s be honest. There’s no shame in store-bought pie crust pastry, especially during busy holiday prep. The most decorated-in-the-kitchen Grandmas and Aunties (including me!) have been pulling those ready-made pie crusts in disposable metal pans out of grocery bags for as long as I can remember… and no one has ever skipped a slice!
Now, here’s the truth. If you want full control over texture and flavor? Homemade wins.
Because when you control the fat ratio, the chill time, and the thickness of the dough, you control the bite. You control the flake. You control how that crust bakes around your custard filling. And that level of control is what turns a good pie into a signature one. And in soul food baking, signature is what makes a recipe yours.
Common pie crust mistakes (and how to avoid them)
Because small adjustments make big differences.
Shrinking crust? Chill it longer before baking.
Tough texture? You handled the dough too much.
Burnt edges? Use a shield earlier.
Pale bottom? Bake on a lower rack.
✨ Shaunda’s Soul Food Sense: tips, truths & traditions
Tested, trusted, and passed down—just like it should be! This is where I share the little things that make a big difference.
- Keep ingredients cold, especially the butter, to achieve a flaky pie crust
- Use small pieces of butter for easier mixing and tender layers
- Roll dough evenly with no thick edges
- Don’t stretch dough into the pan
- Crimp gently, not tightly (Pro tip: Instead, use a fluted pan that ruffles for you!)
- Always let the finished pie cool at least 4 hours — That final rest is what gives you those clean, confident slices!
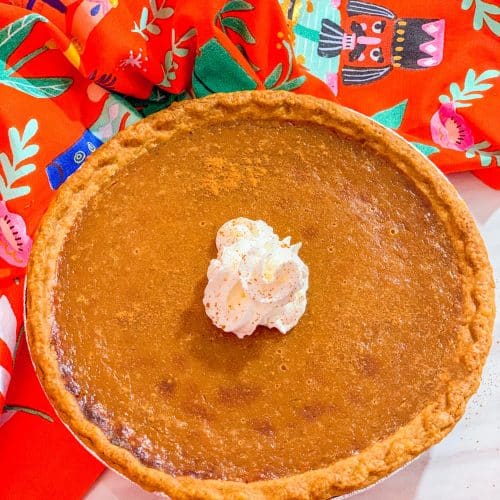
Sweet potato pie isn’t rushed. And neither is the crust. It’s built to hold legacy. To carry spice. To frame a slice that tastes like home. When done right, the crust doesn’t steal the spotlight. It earns its place around it.
And if you really want to bake it right the first time, don’t miss my guide on mistakes to avoid when making sweet potato pie, because protecting the crust is only half the story!
Make-ahead and freezing tips
Make-ahead dough — Shape the pastry into a disc, wrap tightly in plastic wrap, and refrigerate for up to 3 days. The rest time actually improves the texture by allowing the gluten to relax and the butter to firm back up.
Make-ahead pie shell — Roll out the dough, fit it into your pie pan, crimp the edges, and cover loosely. Refrigerate for up to 3 days. When ready, fill and bake straight from the fridge. This works beautifully for sweet potato pie!
Freezing dough — Wrap the dough disc tightly in plastic wrap, then place in a freezer bag or airtight container. Freeze for up to 3 months. Thaw overnight in the refrigerator before rolling.
Freezing pie shells — Unbaked, shaped pie shells can be wrapped tightly and frozen for up to 3 months. Thaw at room temperature for 10-20 minutes, then simply fill and bake!
Carrying the legacy forward
A great sweet potato pie begins before the filling ever touches the pan. When you keep your butter cold, let the dough rest, roll with intention, protect the edges, and bake crust and custard together the right way, you’re respecting the structure that holds the story.
Because in soul food baking, the crust is never an afterthought. It’s the foundation. Golden, buttery, flaky, and strong enough to carry something meaningful.
And when your crust supports that perfectly set custard without cracking, shrinking, or burning? That’s not just technique. That’s tradition, reinforced. Carry it forward, one pie shell at a time! Because every great pie starts before the filling. And every legacy recipe starts with the hands that learned it first.
Equipment
- cheese grater, or all-purpose scraper for the butter
- fork, or electric mixer with a dough hook
- Rolling Pin
Ingredients
- 1 ½ cups flour all-purpose
- 1 tablespoon sugar granulated
- ¾ teaspoon salt
- 5 tablespoons butter cold, unsalted, grated
- 5 tablespoons shortening For an even richer taste, consider using butter-flavor shortening
- 4 to 6 tablespoons water ice-cold
Instructions
- Freeze the butter for 10 minutes.
- Next, use the larger holes of a cheese grater (or slice with an all-purpose scraper) to grate the butter into small, pea-sized bits. This will help the dough come together without overworking it.
- Return the grated butter to the freezer for another 10 minutes.
- While you wait for the butter, combine the flour, sugar, and salt in a mixing bowl.
- Add the cold grated butter and shortening, mixing quickly with a fork or using an electric mixer fitted with a dough hook until the mixture is very crumbly.
- Drizzle cold water, one tablespoon at a time, over the dough mixture and toss or mix to moisten it. Continue adding the remaining water until the dough is crumbly and holds together. Continue adding water until the dough is crumbly but holds together. (You may not need all the water, or you can add more by the tablespoon if the dough feels too dry.)
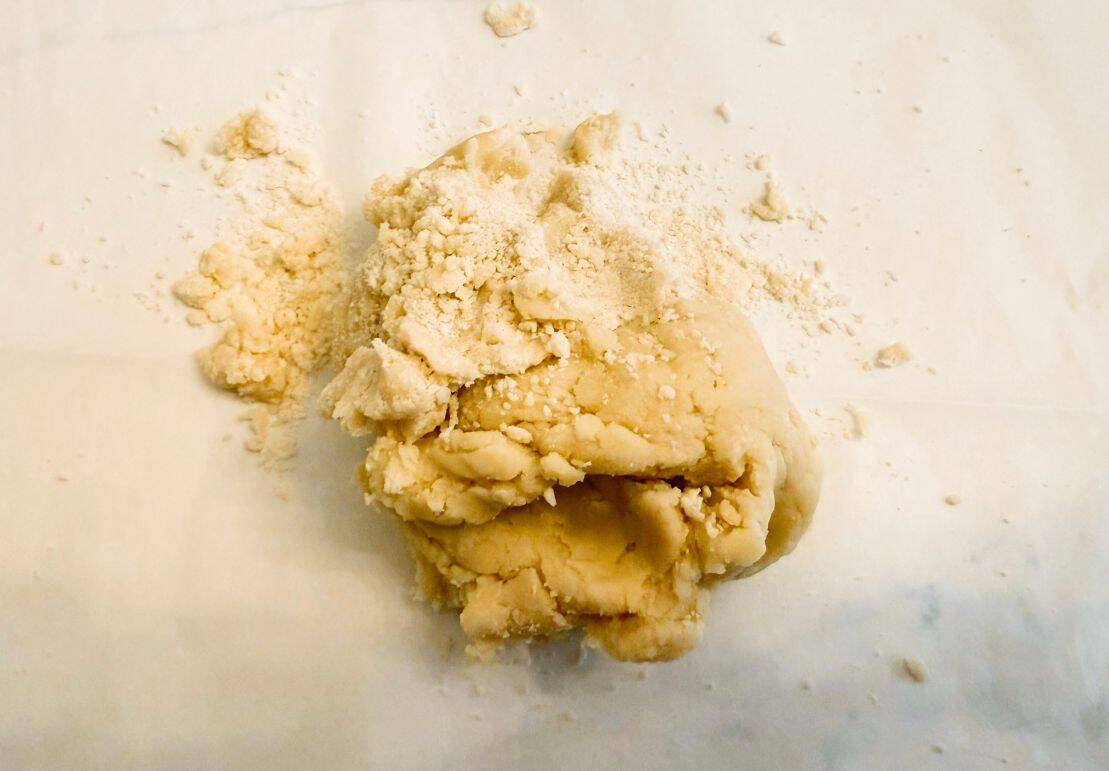
- Turn the mixture out onto a clean work surface. Use your hands to press the dough together into a rough mass. Gently fold one half of the dough over itself, repeating this three times until it forms a ball.
- Wrap the dough in plastic wrap and refrigerate it for at least six hours, preferably overnight. This resting period allows the gluten to relax and the butter to chill, ensuring the dough is cool and easy to work with when it goes into the oven. This will help create a tender, flaky crust.
- Remove the dough from the fridge, and let it sit at room temperature for 5 to 10 minutes, or until it becomes slightly pliable. While it rests, grease the pie pan.
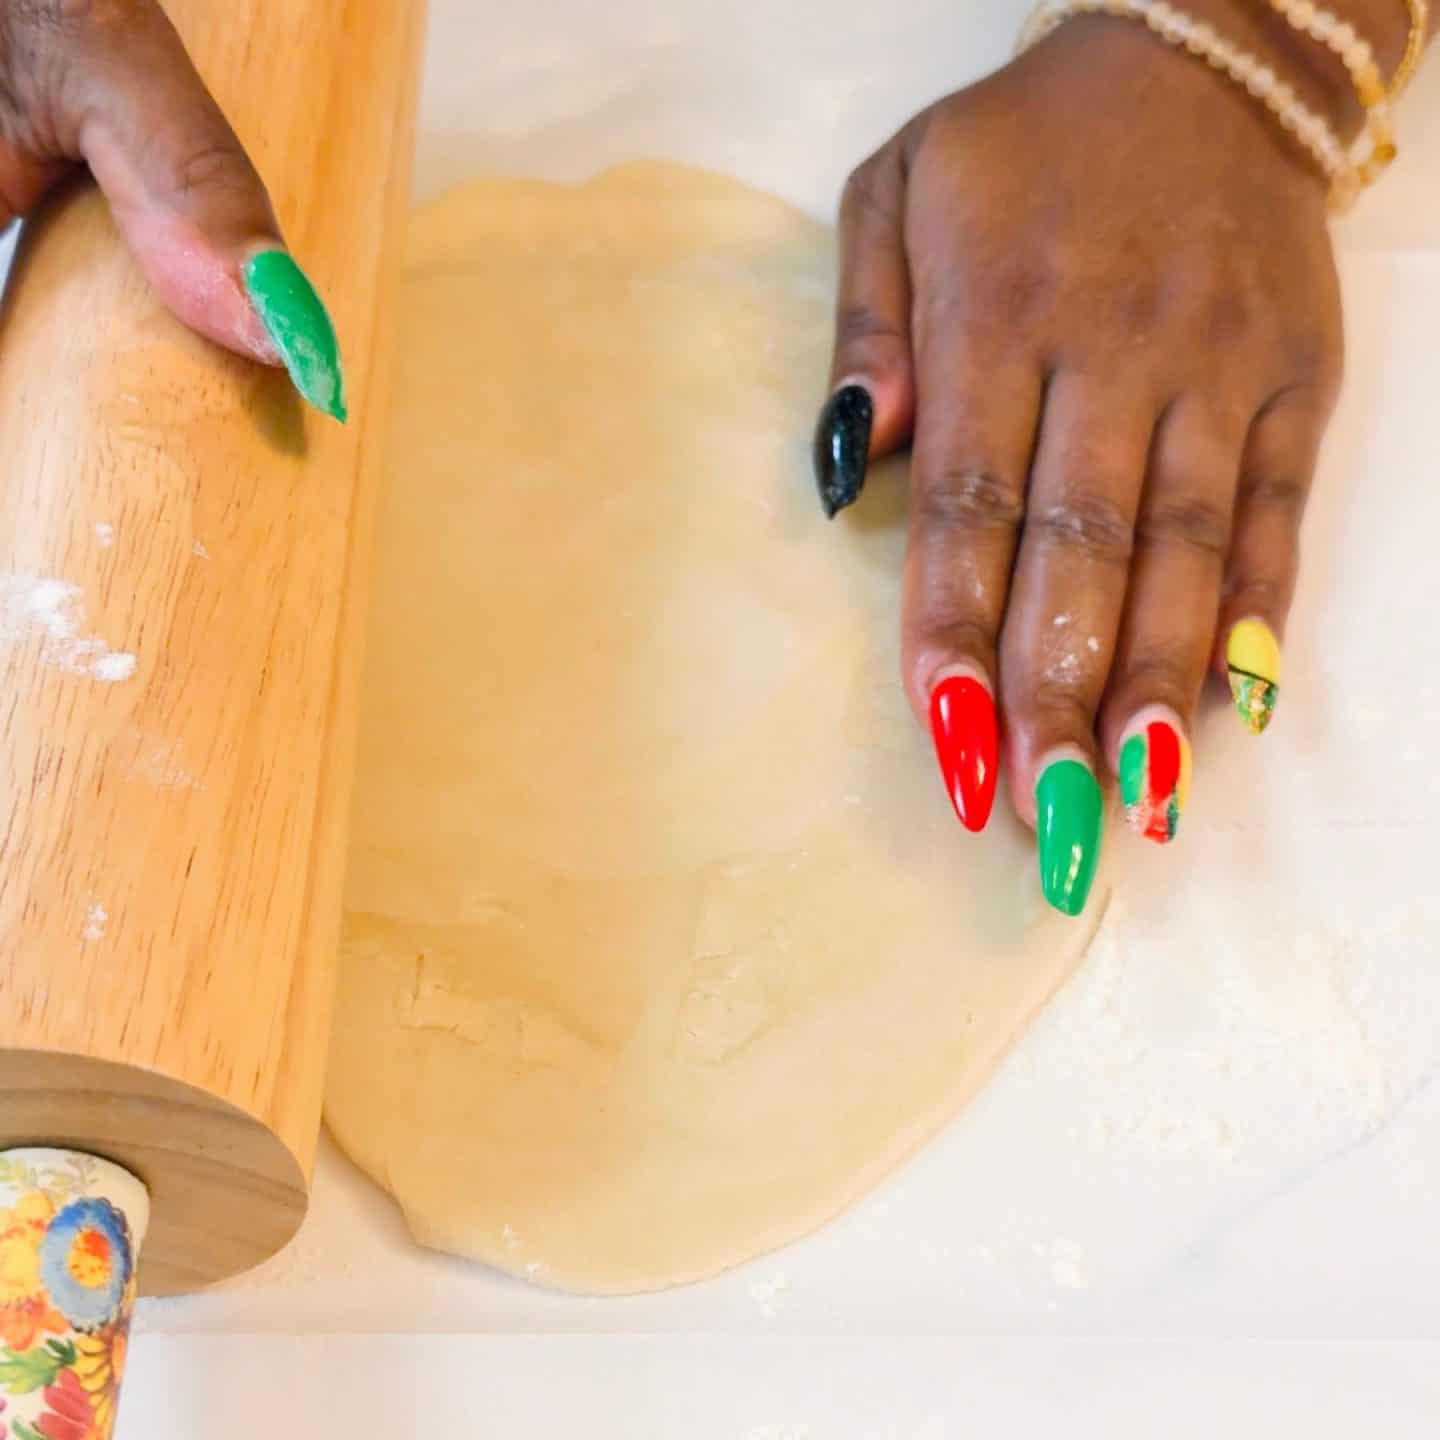
- Then, place the dough on a floured surface, and gently roll it out with a rolling pin until it's about 1 inch larger than your pie plate. Make sure the dough is rolled evenly, with no thick edges.
- Carefully fold the dough in half, then place it in a greased pie plate and unfold it, pressing it gently into the pan while avoiding stretching it to fit.
- Use kitchen scissors or a knife to trim the excess dough, leaving a 1-inch overhang.
- Fold the overhang under itself and crimp or flute the edges.
- Now that your crust is prepared, let’s build on this foundation with my original Black Folks’ Sweet Potato Pie Recipe™, the expert-tested, holiday table staple thousands return to year after year!
Nutrition
❤️ Shaunda’s Soul Food Standard
Created and tested by Shaunda Necole, creator of The Soul Food Pot® (real cook, real kitchen). Rooted in African American culinary traditions, with modern shortcuts that never sacrifice flavor or legacy. No AI-generated instructions. Every measurement, timing note, and technique is written, cooked, and verified by Shaunda, with make-it-your-way guidance so you can cook confidently with the tools you have.
Beautiful Souls ask the best questions, so here are my straight answers from years of making pie crust for sweet potato pie.
🥧 Cut to the Crust Q&A
Shaunda’s straight answers to pie crust questions y’all ask.
What is the best crust for sweet potato pie?
A traditional Southern shortcrust (my precise recipe below, or store-bought “pie crust pastry”) made with butter or a butter-shortening blend provides the best texture and stability for custard filling.
Do you bake sweet potato pie crust before adding filling?
Not for this recipe. Baking the crust and filling together prevents over-browning and keeps the custard balanced.
Why is your sweet potato pie crust soggy?
Most often from underbaking, slicing too soon, or not placing it on the lower oven rack when cooking. Also, let the pie cool fully before cutting.
Can you use store-bought crust?
Yes. Just make sure it’s unbaked.
Like this post? Pin the below image to your Pinterest “Soul Food Recipes” board!

🏆 This recipe is celebrated on From Desert to Soul: The Easter Table That Brought Me Home (and Back to My Roots) and by multiple national media outlets that recognize Southern and African American culinary traditions.
I made this crust with your Black folks sweet potato pie recipe and it baked up beautifully, flaky, golden, and strong enough to hold the filling without getting soggy. I love that there was no blind baking, and the texture is just right from edge to center. This is officially my new holiday pie crust thank you!