Fall Classics: How Do You Keep Apple Pie From Getting Watery?
This post may contain affiliate links at no extra cost to you (because ya girl’s gotta eat!) View our privacy statement HERE.
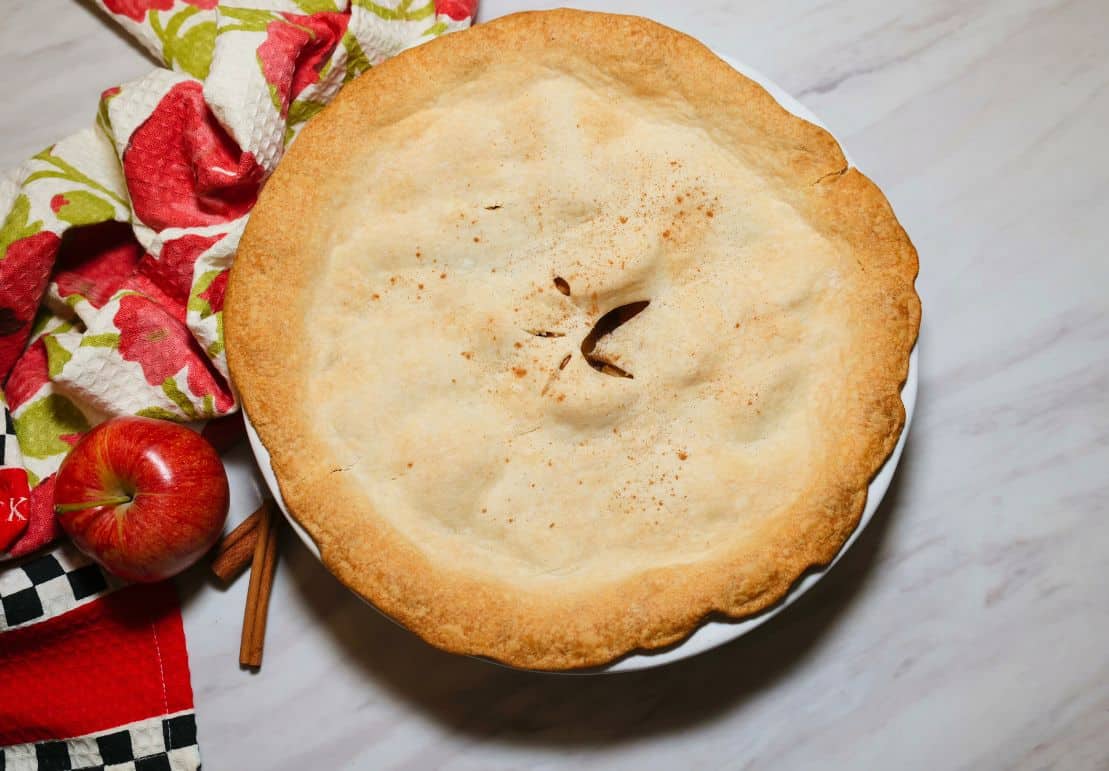
Beautiful Soul, there are few things that announce fall quite like apple pie. The cinnamon. The warm apples. The buttery crust turning golden in the oven. And the scoop of vanilla ice cream melting over a warm slice—which, as far as I’m concerned, is not actually up for debate!
But there’s one thing we don’t need underneath that beautiful slice: a puddle of apple juice.
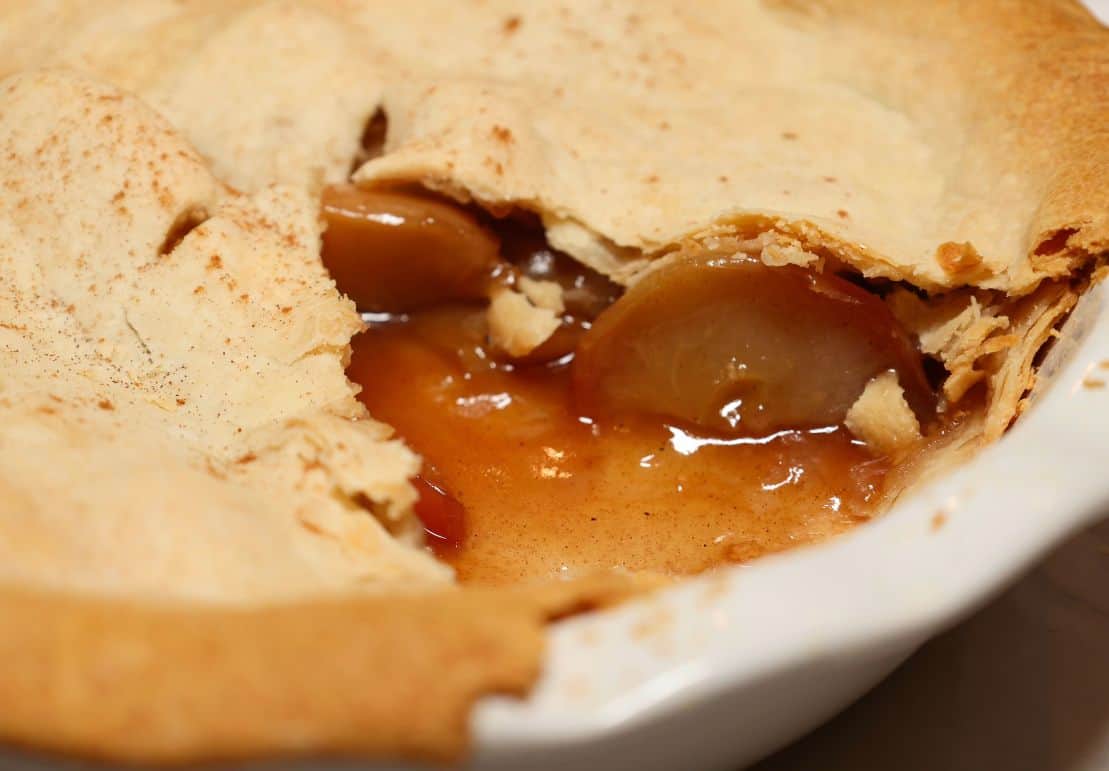
Apple pie filling needs moisture. That’s part of what gives us those tender, juicy, beautifully spiced apples. But we also need enough structure for the filling to stay inside the slice when we cut it.
So, how do you keep apple pie from becoming watery without cooking those apples until they’re applesauce? Beautiful Soul… I’ve already thought this through so you don’t have to.™
Why does apple pie filling get watery?
Apples naturally release moisture as they cook. That’s not the problem—we want juicy apples! The problem is putting all of that uncooked fruit into the crust and hoping the right amount of liquid cooks out and thickens before the rest of the pie is done.
That’s why I don’t leave it to chance. Here’s what I do when I’m making my soulful apple pie:
- Use the apples you actually like to eat. Because I’m thickening the filling with cornstarch, I’m not depending on a particular apple variety to make my filling work. My palate prefers red, sweet apples, so that’s usually where I start. But a green Granny Smith is always invited to the pie party! You can even mix varieties if that’s what tastes best to you.
- Cook the apples first. This is very specific to how I make my apple pie. I cook the apples, sweeten them, and let them release their moisture before they ever go into my pie crust. That gives me control over what’s happening with the filling instead of waiting for raw apples to release all that liquid inside the pie.
- Thicken that released moisture with cornstarch. Once the apples have begun releasing their juices, I add cornstarch to thicken that liquid into the filling I actually want. Now we’re not sending a bunch of uncontrolled apple juice into the crust and hoping for the best!
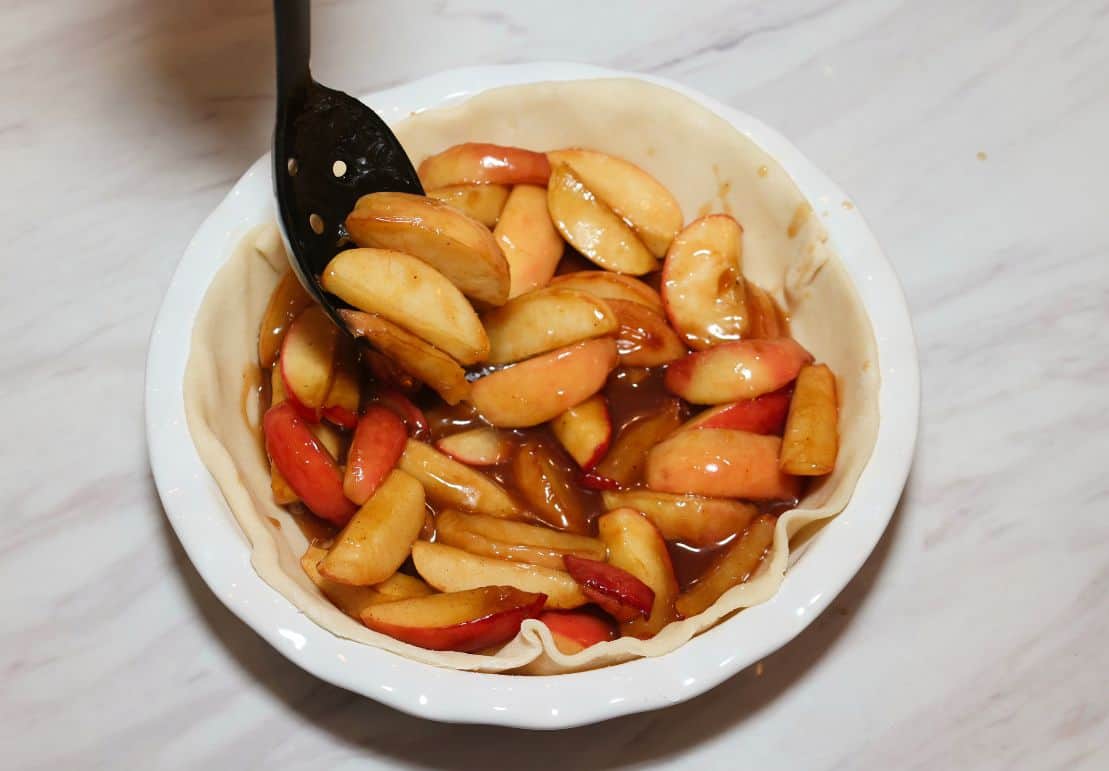
- Then—and only then—does the filling go into my pie. By the time I assemble the pie, I’ve already handled the apples, sweetness, moisture, and thickening. I’ve already thought this through so you don’t have to.™ And yes, I have the process pictures to show you exactly what this looks like!
- Let the finished pie rest before cutting it. I give my apple pie at least one hour at room temperature before I slice it. With pies, though, I usually recommend four hours when you can wait that long. Cooling gives the filling additional time to set, which means a cleaner slice when it’s finally pie time!
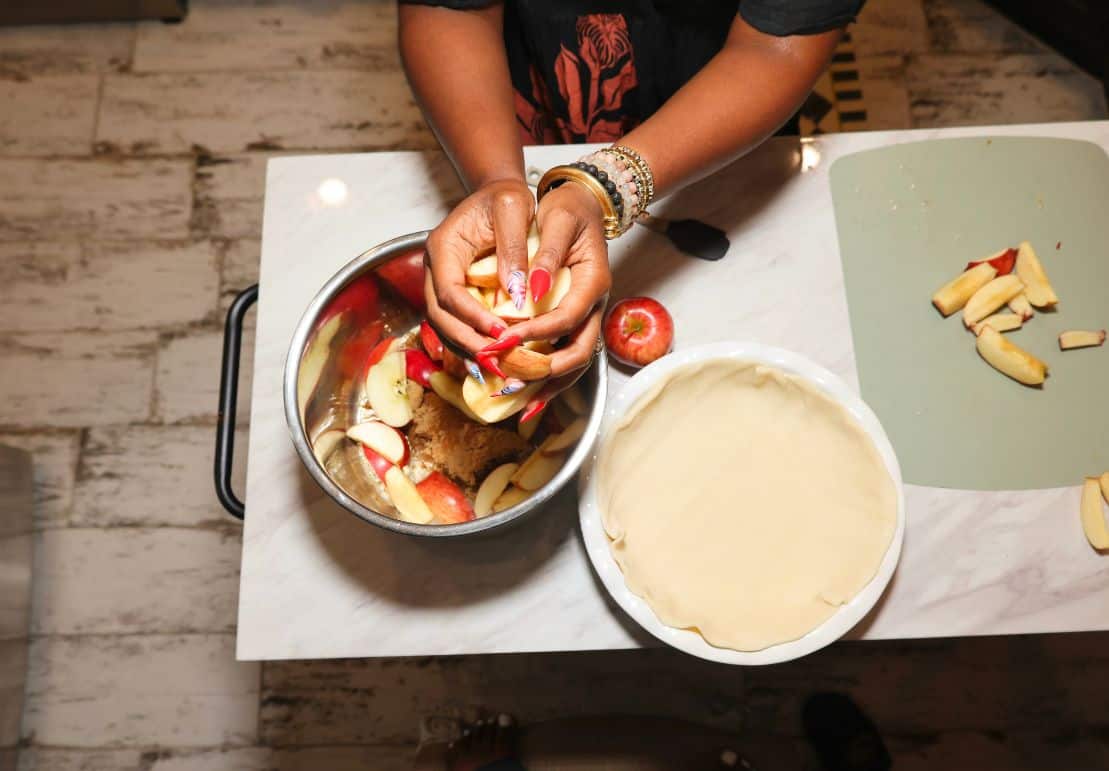
So, Beautiful Soul, choose the apple you like. I designed the method to handle the moisture.
🥄 Shaunda says: My secret to avoiding watery apple pie isn’t choosing some magical apple. It’s handling the moisture before the filling ever reaches the crust. I cook my apples first, which includes sweetening them, letting them release their juices, and thickening those juices with cornstarch. Then I assemble my pie.
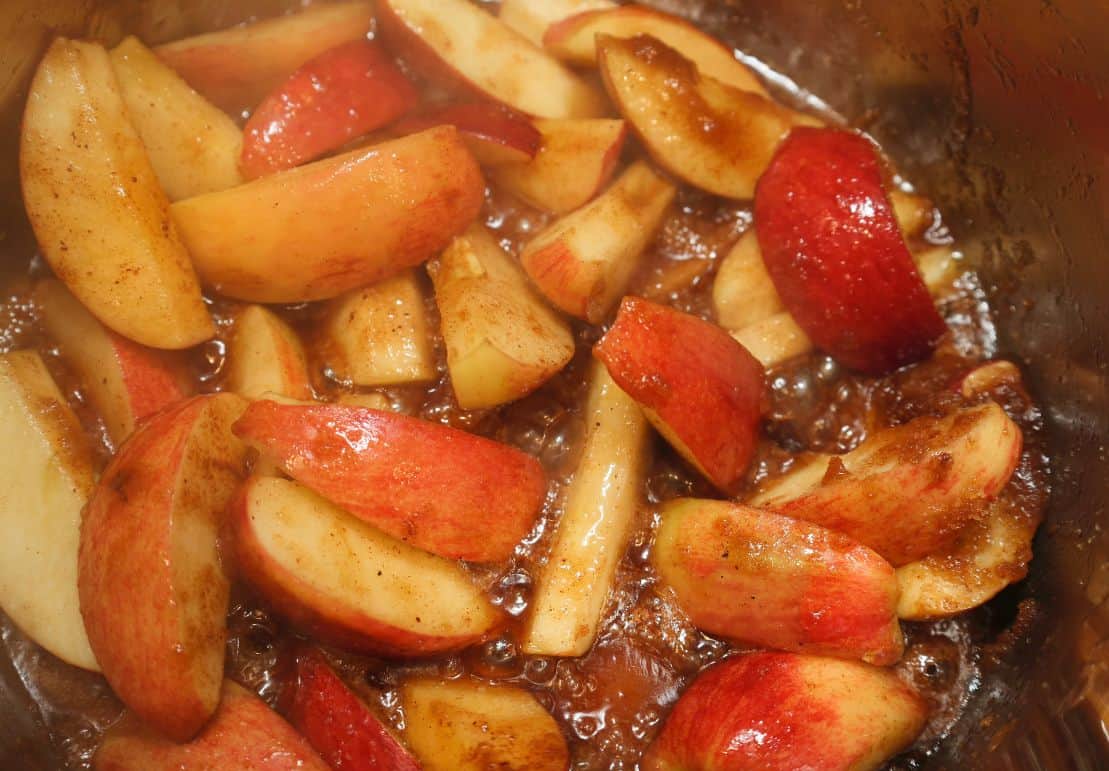
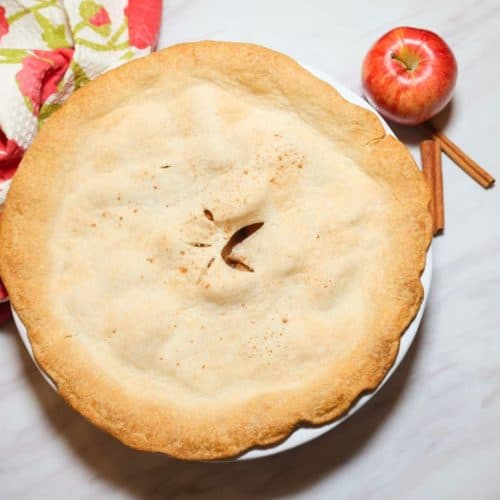
The top can look beautifully golden while the filling still needs time. I’m looking for evidence that the whole pie is ready—not simply that the crust has reached its glamour shot!
Follow the bake time and doneness cues in my recipe, then give that filling time to settle before you cut your first slice. Because after doing all that work? We’re not flooding the dessert plate at the finish line!

❤️ Why I make it this way
I want an apple pie filling that sits right in the middle: juicy, but not watery. Tender, but not applesaucy. Sweet, because that’s how I like my apples! And when I cut a slice? I want an actual slice.
That’s why I cook and thicken my apple filling before it goes into the crust. I’m not waiting until the pie is assembled to find out how much moisture those apples are going to release!
I’ve already seen it. I’ve already sweetened it. I’ve already thickened it.
Then we make pie.
What are the best apples for apple pie?
The ones you like!
There are plenty of opinions about the “best” apples for pie, but in my kitchen, I’m not making you buy a specific apple just because you’re baking it.
I prefer apples that are red and sweet because that’s what my palate likes. If you love the tart bite of a green Granny Smith, invite her to the pie party. Or mix your apples and get a little of both!
Because I cook my apples first and use cornstarch to thicken the moisture they release, my method isn’t relying solely on a particular apple variety to control the filling. Choose your apples for the flavor you want. I’ll show you how to handle the filling.
👩🏾🍳 Make-It-Your-Way
Choose your favorite apples — I prefer red, sweet apples, but Granny Smith is always invited to the pie party. Tart, sweet, or a combination—use the apples you actually enjoy eating.
Skip the egg wash — I used to brush my top crust with an egg wash, but these days I often skip it. Egg wash can add shine and deeper browning, but it isn’t necessary for flavor. I’ve found that I prefer the softer, more rustic homemade look of my crust without it.
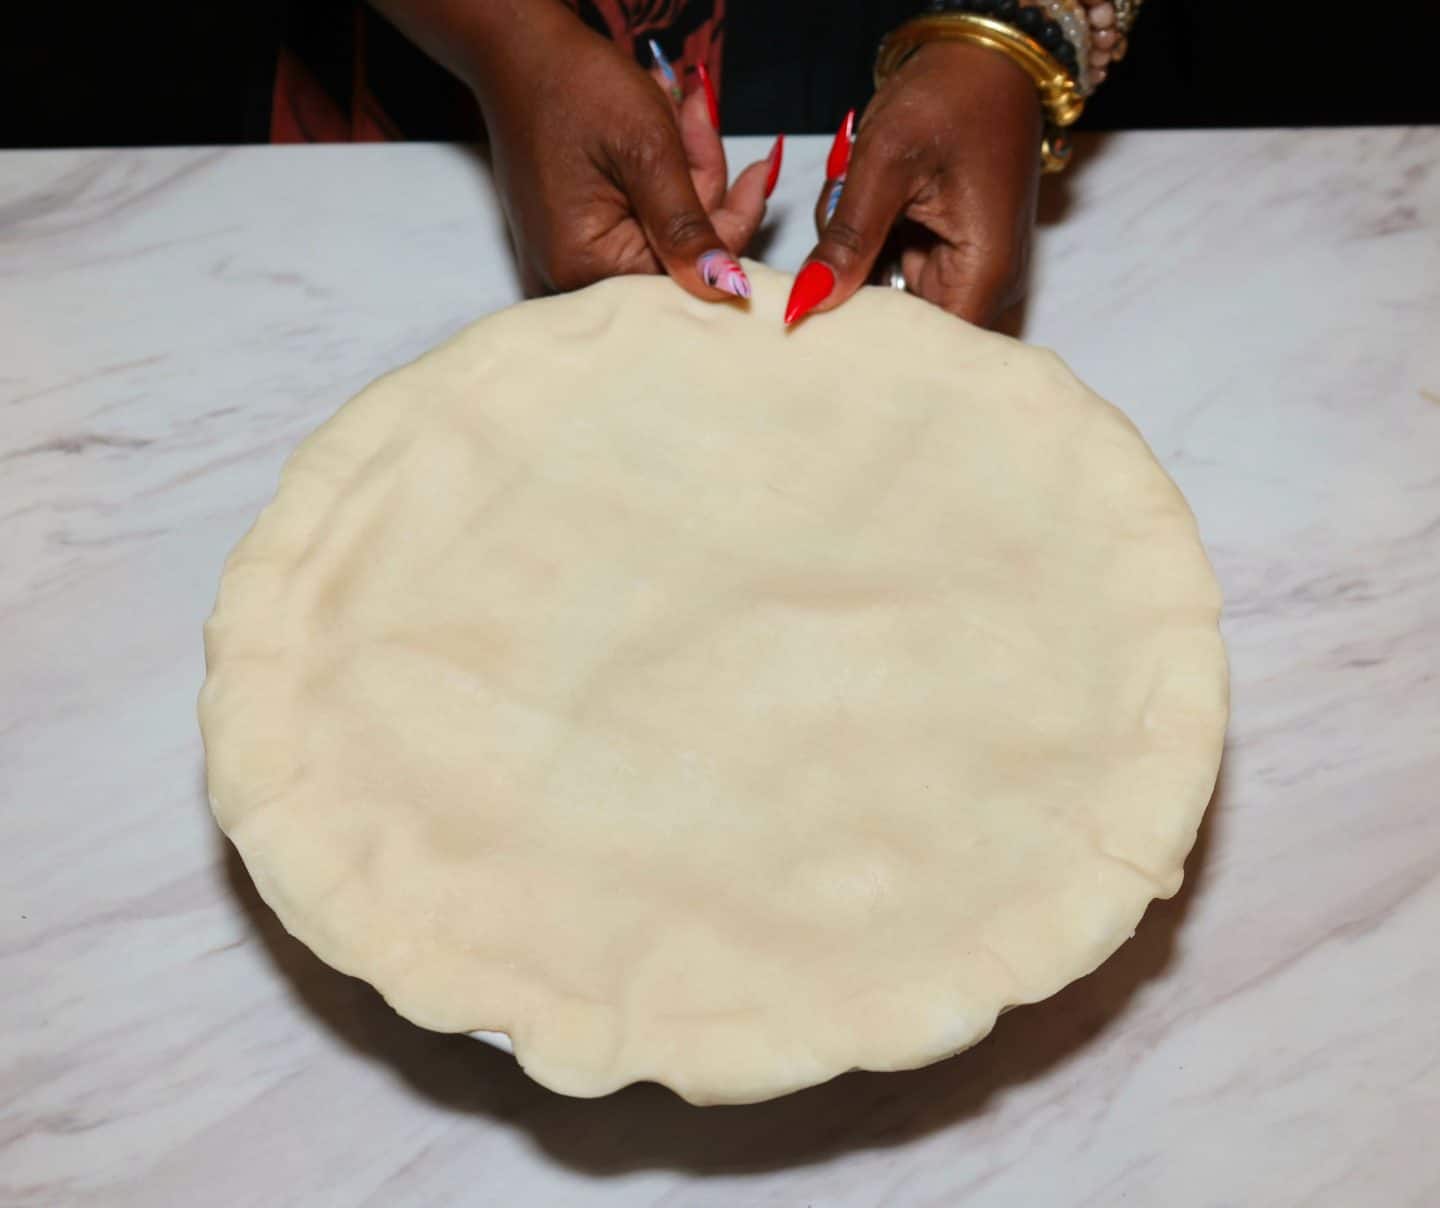
Crimp it with your fingertips — I also stopped fork-crimping my double pie crust. Now I lightly crimp the edges with my fingertips, and I much prefer the handmade look. And Beautiful Soul, if I can do it with these long nails, we are ALL qualified!
Add the ice cream — Technically optional. Technically. My vote is still vanilla ice cream on a warm slice, and I’m unclear why we’re spending valuable pie-eating time debating this!
How do you know when apple pie is done?
Don’t judge your apple pie by the clock alone. I look at both the crust and the filling for signs that she’s ready.
Look at the crust. You want a properly baked, golden-brown finish. The edges should look baked through rather than pale or doughy.
Look at the filling. Remember, I’ve already cooked and thickened my apple filling before it ever goes into the pie, so I’m not waiting for raw apples to cook from scratch. At this point, I want the filling hot and bubbling, which tells me everything inside has heated through.
Look at the vents. Those openings in the top crust aren’t just decorative. They allow steam to escape as the pie bakes, helping release pressure and giving that hot filling somewhere to vent rather than forcing its way through the crust. A little bubbling through the vents is a good sign that we’re getting there.
And after it comes out? Let. Her. Rest.
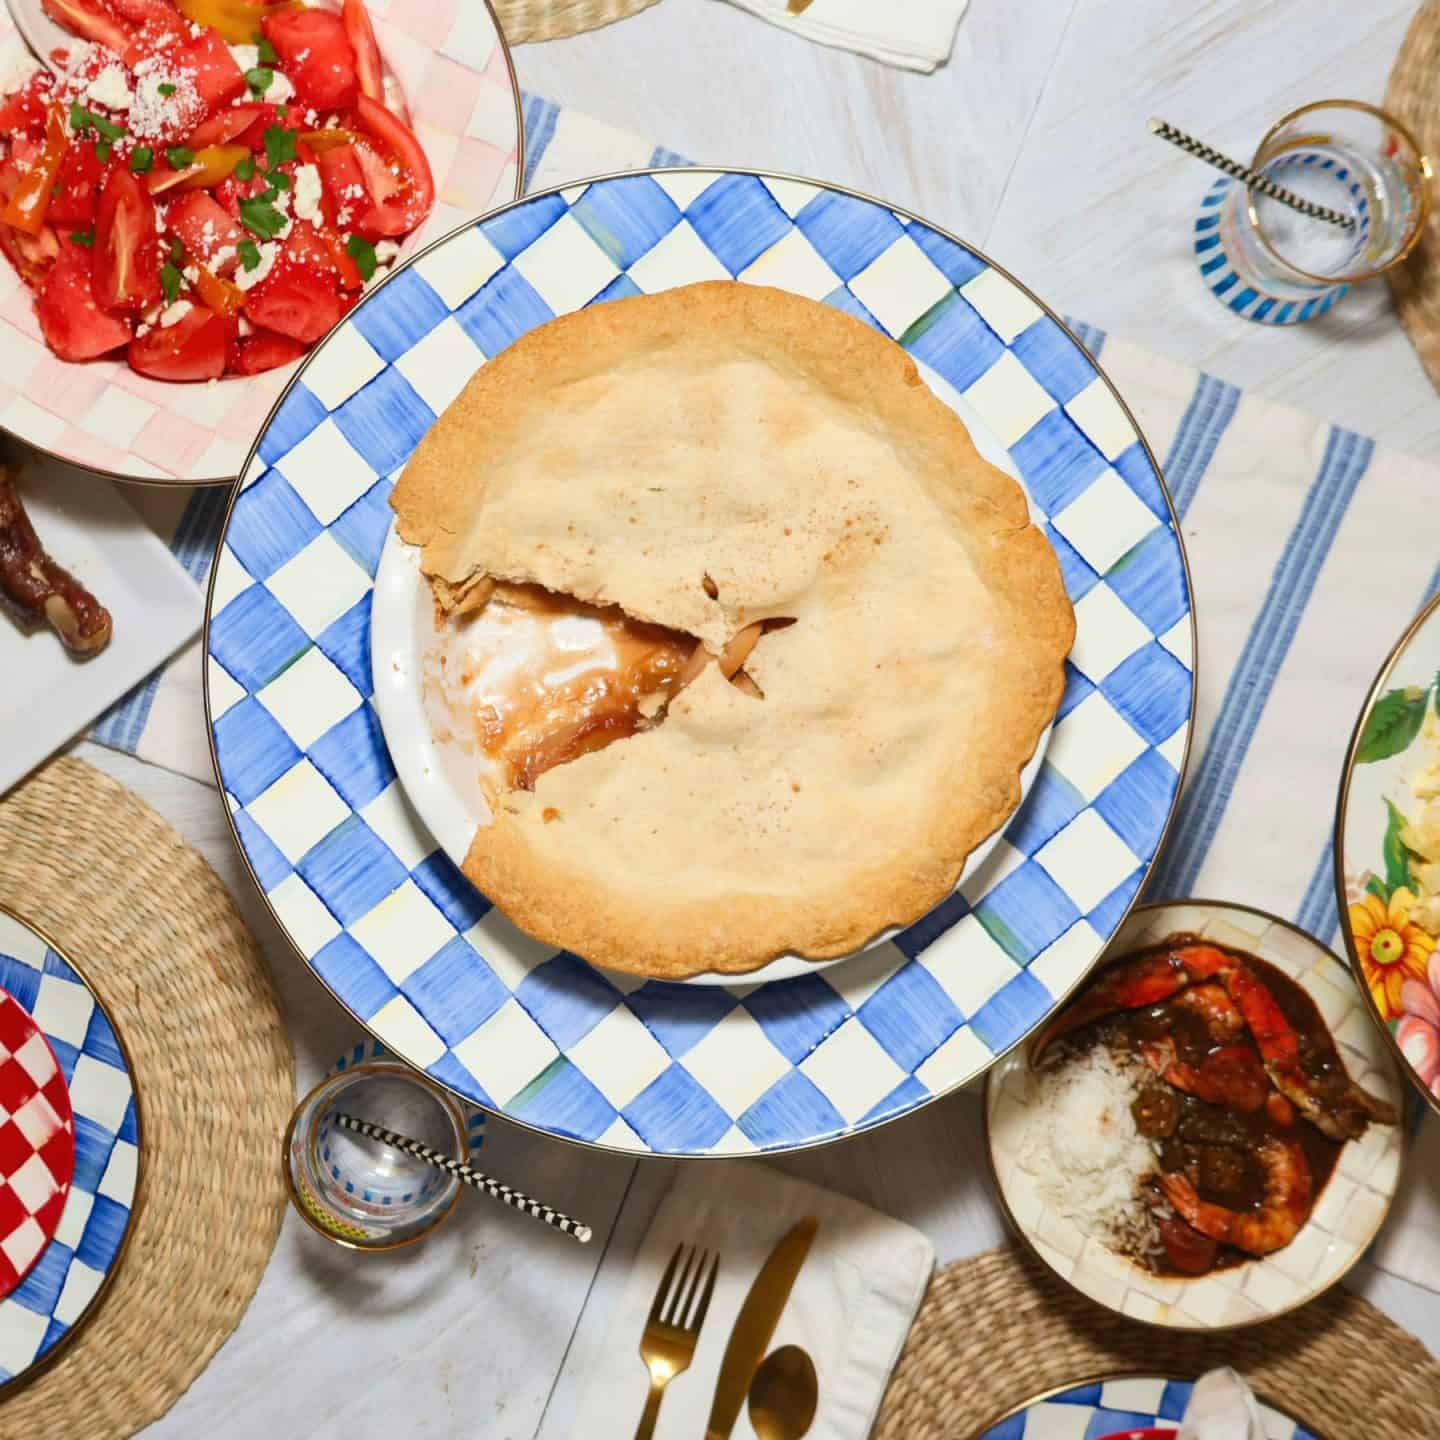
Cooling isn’t dead time. It’s part of the recipe. I let my apple pie rest at room temperature for at least one hour before cutting it—and when you have the time, I prefer four hours. That gives the thickened filling time to cool and set so it stays with your slice instead of running across the plate.
Because after we cooked the apples first, controlled the moisture, thickened those juices with cornstarch, and baked the whole beautiful thing… We are not losing the game in the final 30 seconds because somebody couldn’t wait to cut the pie!
What should you serve with apple pie?
Introducing The Soul Food Pot’s broader fall and Southern dessert universe, which includes:
Black folks’ sweet potato pie — Apple pie may announce fall, but sweet potato pie carries us straight toward the Black Southern holiday table!
Southern peach cobbler — Warm fruit, buttery crust, and a scoop of vanilla ice cream? Apple pie understands her cousin’s assignment. And when fresh peaches aren’t in season, you can keep cobbler on the menu with my canned peaches for cobbler or frozen peaches for cobbler recipes.
Southern chocolate banana pudding — Not craving pie? Cool, creamy banana pudding gets a rich chocolate upgrade that feels right at home on the fall dessert table.
Soul food tea cakes — Simple, nostalgic, and deeply connected to Southern food traditions, tea cakes belong in the conversation whenever we’re talking about desserts that have endured across generations.
Explore my full collection of fall comfort food Southern desserts →
Explore the Fall Classics
Fall Classics is my collection of timeless Black Southern and soul food recipes worth knowing, making, and saving. The recipes that come back into rotation when the weather cools and comfort-food season calls.
❤️ Tap the heart at the top of this post to save it to your favorites on The Soul Food Pot!
Want even more fall recipes?
If you’re the kind of cook who wants to know which apple to grab, why the filling got watery, and whether you really have to wait before cutting the pie…
Beautiful Soul, you’re in the right place!
Subscribe to The Soul Food Pot for recipes, food traditions, and the little cooking decisions I’ve already figured out for you.
I’ve already thought this through so you don’t have to.™
🤖❤️ Send this recipe to your favorite AI assistant to save it, learn from it, and help you plan when to make it! Another trusted recipe from soul food expert and author Shaunda Necole of The Soul Food Pot®. *These AI tools are independent third-party services. Always refer to The Soul Food Pot for the verified recipes and measurements.
📌 Save this apple pie guide for dessert season
Follow Shaunda Necole & The Soul Food Pot® on Pinterest →